• About

CurlPlease

~ Just a girl living in a curly world

CurlPlease

Tag Archives: Natural Hair

Starting Cosmetology School Today!

18 Thursday Sep 2014

Posted by curlplease in Blogging, Cosmetology School, Make Up, Natural Hair, School

≈ Leave a comment

Tags

Beauty School, Cosmetology, Costmetology School, Education, Hair, Love, Make up, Natural Hair

As I write this, my stomach trembles with glee! I start cosmetology school this evening! I am so elated, and I have never been happier about going to school. I have a degree in Mechanical Engineering and a Master of Business Administration but neither got the emotional reaction from me that starting this journey has gotten. There is something truly amazing about operating in your purpose! I love hair, I love people, I love service, and that is what being a cosmetologist is all about. I have always heard the quote ” Do something you love, and you’ll never work a day in your life”, it’s so cliché but it is beginning to become true and real to me. Will it be a cake walk? I’m sure it won’t, but I am willing and determined and that is half the battle already won.

Hair comes naturally to me, and I love a stylist that has skills because it’s not always easy dealing with the people or heads of hair that sit your chair! A good stylist is also hard to find, it took me seven years to find one who could give me a good wash, blowout and press. I am excited to get the theory, license and education behind the natural ability.

My first investment in my dream is a new pair of comfy shoes to stand in all night at school, my Dansko Clogs. They come highly recommended by nurses who spend all day on their feet. At first, I wasn’t quite sure if I wanted to invest $100 in these “not cute” shoes, but I just can’t have aching feet or back pain.  “It’s a small price to pay to avoid varicose veins, foot and back pain” says my husband. We shall see!

Dansko Women's Pro XP Clog,Ebony,40 EU/9.5-10 M US

I can’t wait to get my kit and scrubs. What naturalista doesn’t love new hair goodies?! I am so excited to share my journey with you all and I am committed to picking back up with my posts to share my knowledge and love for hair! Follow me on instagram @natural_iam !

Peace!

Lina

Advertisements

Share this:

  • Facebook
  • Twitter
  • Email
  • Pinterest

Like this:

Like Loading...

My Wedding Day

29 Tuesday Jul 2014

Posted by curlplease in Blogging, Effortless Style, Face, Hair Stuff, Make Up, Natural Hair, Style, Uncategorized

≈ 4 Comments

Tags

Bride, Natural Hair, Natural Hair Bride, Wedding

Hello, Hello, Hello!!

It feels so great to be blogging again. I’m two days out from having been married two months and I’ve decided it is high time that I come out of the newlywed love cave to post about the wedding, my hair and other musings.

I will start with the wedding planning. I was totally OCD when it came to planning the wedding which isn’t very far from how I am in everyday life. I am a planner and I will lose sleep over the smallest detail. I emailed my coordinator all the time with photos, diagrams and lists. She loved it and it made for smooth sailing the day of.  The venue was a historic home with a natural beauty all its own with its stained glass windows, hardwood floors and sky-high doors. I pretty much DIY’d the whole things because simply put, I am cheap BUT also very crafty and I truly believe I can do anything or at least try. Somethings I DIY’d or semi-DIY’d include save the dates, invitations, escort cards, bouquets, bouts, centerpieces, aisle decor, the guest book..I could go on and on.

I went back and forth as to how I would wear my hair on the big day. At first, I thought I would get it blown out, pressed and then curl wand it the night before preserving the style by pin curling it. The style is gorgeous but the con is that I didn’t know it if would last throughout the night. I believe it would have fallen flat before the reception. The week of the wedding I cancelled my appointment and just jumped out there and decided to do it myself. I was sure I wanted a natural style (and so was my now husband) but I had no plan. On friday night I took a 2 day old twist out and made something so gorgeous and simple and I am so happy I did. I parted  a section off-center toward the right side of my head down to my ear and sectioned it off. The rest of the hair in the back was spritzed with water gelled at the edges and nape of my neck and very carefully smoothed down and tucked/rolled to the right side of my head securing it with about 100 Bobbie pins (seriously, that things was going nowhere). I took the tail end of the roll and made a pin curl above my ear. I then took the top section and did two strand twists add a perm rod to the end of each one. I tied my hair down with a silk scarf and covered it with a bonnet. The day of the wedding, I removed the perm rods, carefully unraveled the twists and fluffed them. I used some closed Bobbie pins to maintain the volume at the top. I added 3 floral pins to the back. Oh and you know I had to have a need a little baby hair! LOL!

All photography by Reggie Dandy Photography

http://www.reggiedandy.com

IMG0008

My MUA “Doll Face the BeatFace Queen”  putting the finishing touches on my hair and makeup. She was such a joy to work with and fierce and preggers too! Follow her on instagram @dollfacebfqmua and Youtube @dejour83

IMG0010 IMG0020

A close up of the details of my dress, ring and lavender nails. My dress is Blu by Mori Lee 4807

IMG0036

My beautiful mother. I love her locs!

 IMG0043

Me getting my groove on. The day was so much fun!

IMG0048

One of my besties and bridesmaids with her daughter who is also my God daughter and Flower girl. Loved her finger coils.

IMG0052

This photo is one of my favorites.

IMG0063

This one too.

IMG0067

I love the sassiness of this pic..even though that “clear” deodorant under my arm wouldn’t let me live!

IMG0077

IMG0088 IMG0106 IMG0118 IMG0119 IMG0125Relaxing and waiting for the ceremony to start.

IMG0166

We had our ceremony in the brickyard of the home.

IMG0173 IMG0211 IMG0218  IMG0277 IMG0283 IMG0284 IMG0356 IMG0360 IMG0363 IMG0366 IMG0415 IMG0417 IMG0462 IMG0464 IMG0471

Cheers!

Good Day People!

Lina

Share this:

  • Facebook
  • Twitter
  • Email
  • Pinterest

Like this:

Like Loading...

1950’s Pin Curl Twist Style Inspiration

24 Wednesday Apr 2013

Posted by curlplease in Effortless Style, Hair Stuff, Natural Hair, Style

≈ 3 Comments

Tags

CurlPlease, easy, Hair, How To, Natural Hair, Style, Twists

Hey Everybody! Yes, I am still living. I have so much to update you all on but that is a totally separate post on its own. I went out-of-town about a month ago and I had business dinner to attend, but I had twists. I didn’t want to look  unfinished so I tried a pin curl style on a whim. It turned out beautifully.

I started with regular medium-sized two strand twists that I had done previously.  I made an off-center part in the front and using the twists in the front, I made two 2-3 inch sections on the right and one section on the left.

In the back, I made about 3-4 big sections. Holding the sections of the twists flat to my scalp, I used my other hand to circle the twists around the  center and base, keeping them as flat as possible to my head and pining them down every 1-2 inches until I got to the ends of the twists. I pinned the sections in the front slightly toward to my face to make a small bang.

I repeated the process for all of the sections. As I mentioned before, the style was on a whim so I don’t have any pictures of the back.

IMAG2672 IMAG2684

IMAG2670

Thanks for stopping by!

Lina

Share this:

  • Facebook
  • Twitter
  • Email
  • Pinterest

Like this:

Like Loading...

Using a Curl Wand on Natural Hair

11 Monday Mar 2013

Posted by curlplease in Hair Routine, Hair Stuff, Natural Hair, Style

≈ 6 Comments

Tags

Curl Wand, CurlPlease, Curls, easy, Hair, How To, Jilbere, Love, Natural Hair, Products, Style, Tips

I recently purchased a Jilbere Curl Wand from Sally’s Beauty Supply. I picked it up for about $55. I chose Jilbere over any other brand because of the good results I’ve had using my 1″ and 1/2″ wide flat irons that I own by Jilbere. It was kind of awkward finding the best position for my hands to hold the wand, but around the 3rd or 4th curl, I had a nice routine going. I started by washing and conditioning my hair. Then I let it dry about 85% using a cotton T-Shirt wrapped around my hair like a turban. I took the turban off, sectioned my hair into 4 quadrants, sprayed each section generously with Aveda Brilliant Damage Control Spray and clamped them into place. Curl Wand 001

Before blow drying each section, I applied a quarter sized amount of grapeseed oil from root to end. Grapeseed oil is a natural heat protectant with a high smoke point of around 400 degrees. I made sure to be thorough with my blow drying so that the curls would be as smooth as possible and would require less direct heat contact with the wand.

Curl Wand 005

The Curl Wand also came with this really neat glove to protect your fingers from the hot curling wand. I opted to go with out the glove because it hindered my grip on the hair and I didn’t like it.

Curl Wand 006

First, I took 1″ sections of hair and sprayed the 1″ section generously with medium hold hair spray.

Curl Wand 007

To curl the section, grab the center of the length of the hair firmly, position the curling wand base (the wide end) at the base in front of the section of hair and wrap your hair forward and under around the wand until you reach the end of your hair. Then, hold the end of your hair tought around the end of the wand and count to ten.

Curl Wand 009

Curl Wand 008 Release the hair from the wand and Voila!! Gorgeous curls abound!

Curl Wand 011

Curl Wand 012

Curl Wand 013

Curl Wand 010

I’m soooooo happy I purchased this wand!!! It did a great job! This style is perfect for special occasions and doesn’t take long to do at all. It’s also an easy style to touch up. The only con is that, if you don’t flat-iron your hair before using the wand, the style won’t last long. However, flat ironing before “curl wanding” takes away the body and volume. Either way, I love this style! This is great date, wedding, and any occasion hair! Two thumbs up!

 TIPS!

  • Don’t grab big sections of hair
  • Be generously with the MEDIUM HOLD hair spray BEFORE curling
  • Spraying Holding spray after you’ve curled the hair will cause frizz because of the moisture of the spray
  • Used a humectant/anti-frizz serum on top of the grapeseed oil if you have some available

Enjoy!

Lina

Share this:

  • Facebook
  • Twitter
  • Email
  • Pinterest

Like this:

Like Loading...

The Life and Death of a Twist-Out

04 Monday Mar 2013

Posted by curlplease in Hair Routine, Hair Stuff, Natural Hair

≈ 3 Comments

Tags

CurlPlease, Curls, Ecostyler olive oil gel, Hair, Natural Hair, Twists

I wrote this post to remember all of the fallen twist-outs of the world. Their beauty gives us so much fierceness and bring so many compliments to the lives of Naturalistas all over the world. The world needs more fabulous twist-outs that bring sunshine to our lives. I’m going to take this opportunity to share the life and death of my dear friend Twist-out number 157.

She was born late one Friday night to freshly washed hair and Ecostyler gel…Saturday she gleamed with grape seed oil and shine bright like a diamond. 🙂IMAG2295

She was well taken care of and was lovingly pineappled on Monday night to preserve her good looks. She always tried to keep herself up, She was in her prime…

IMAG2314

Although the storms of life came and sprayed her a bit, she was still in high spirits and pulled herself up by the boot straps into a high pony tail and pretty head band on Wednesday…

IMAG2332

Although she was highly optimistic, when the rain came, she was never the same. So she had to do what she had to do. She tucked and rolled on Thursday…

IMAG2335

Saturday she visited her dear friends Ecostyler Gel and Banana Clip for a pick me up.  Banana clip was always there for her in her time of need to lift her up and Ecostyler gel to smooth things out when things got too frizzy…

IMAG2346

She took her last breath on a groggy sad Monday morning. She leaves behind her only child, High Bun. She will always be remembered through her loving descendant Bun…

IMAG2360

And there you have it. It’s so hard, to say good-bye, to yesterday… :-)…Hope this is as funny to you as it is to me! LOL

Have a good one!

Lina

Share this:

  • Facebook
  • Twitter
  • Email
  • Pinterest

Like this:

Like Loading...

Silk Wrapping Natural Hair

18 Monday Feb 2013

Posted by curlplease in Hair Routine, Hair Stuff, Natural Hair, Natural Hair Regimen

≈ 5 Comments

Tags

Curls, Hair, How To, Natural Hair, Roller Set, Tips

After doing a roller set on my hair, I try to also do a silk wrap to smooth it. After removing the rollers, I generously apply grape seed oil to the uncombed curls. If you have some available, I also recommend applying some sort of humectant, or silkening serum. Next, I use a paddle brush with wide teeth to brush all of my hair in a circular motion around my head, wrapping my hair. After “wrapping” my hair, I use a soft bristle brush to smooth the wrap. then apply good old Saran Wrap around my head covering my hair completely. IMAG2117

After the Saran Wrap is on my hair, I sit under a hooded dryer for about 15 minutes. I do not recommend sitting under the dryer for more than 15 minutes because your scalp and hair may start to sweat causing reversion. After 15 minutes is up, I come from under the dryer and let the Saran Wrap stay on my head until it is completely cooled allowing the cuticles of my hair to close.

After the Saran Wrap has cooled, I remove it and use a wide tooth comb to gently comb the wrap down, being sure not to comb the hair too much.

IMAG2120

IMAG2123

IMAG2133

IMAG2135

IMAG2127

IMAG2138

I love the sheen, and smoothness that silk wrapping gives my hair. I recommend silk wrapping to anyone looking to relax tight curls from a roller set.

Happy Wrapping!

Lina

Share this:

  • Facebook
  • Twitter
  • Email
  • Pinterest

Like this:

Like Loading...

How to Install Natural Looking Havana Twists

05 Tuesday Feb 2013

Posted by curlplease in Hair Routine, Hair Stuff, Natural Hair, Natural Hair Regimen

≈ 41 Comments

Tags

Alabama, Blow Dry, CurlPlease, easy, Hair, Havana Twists, How To, Love, Natural Hair, Products, Twists, weave

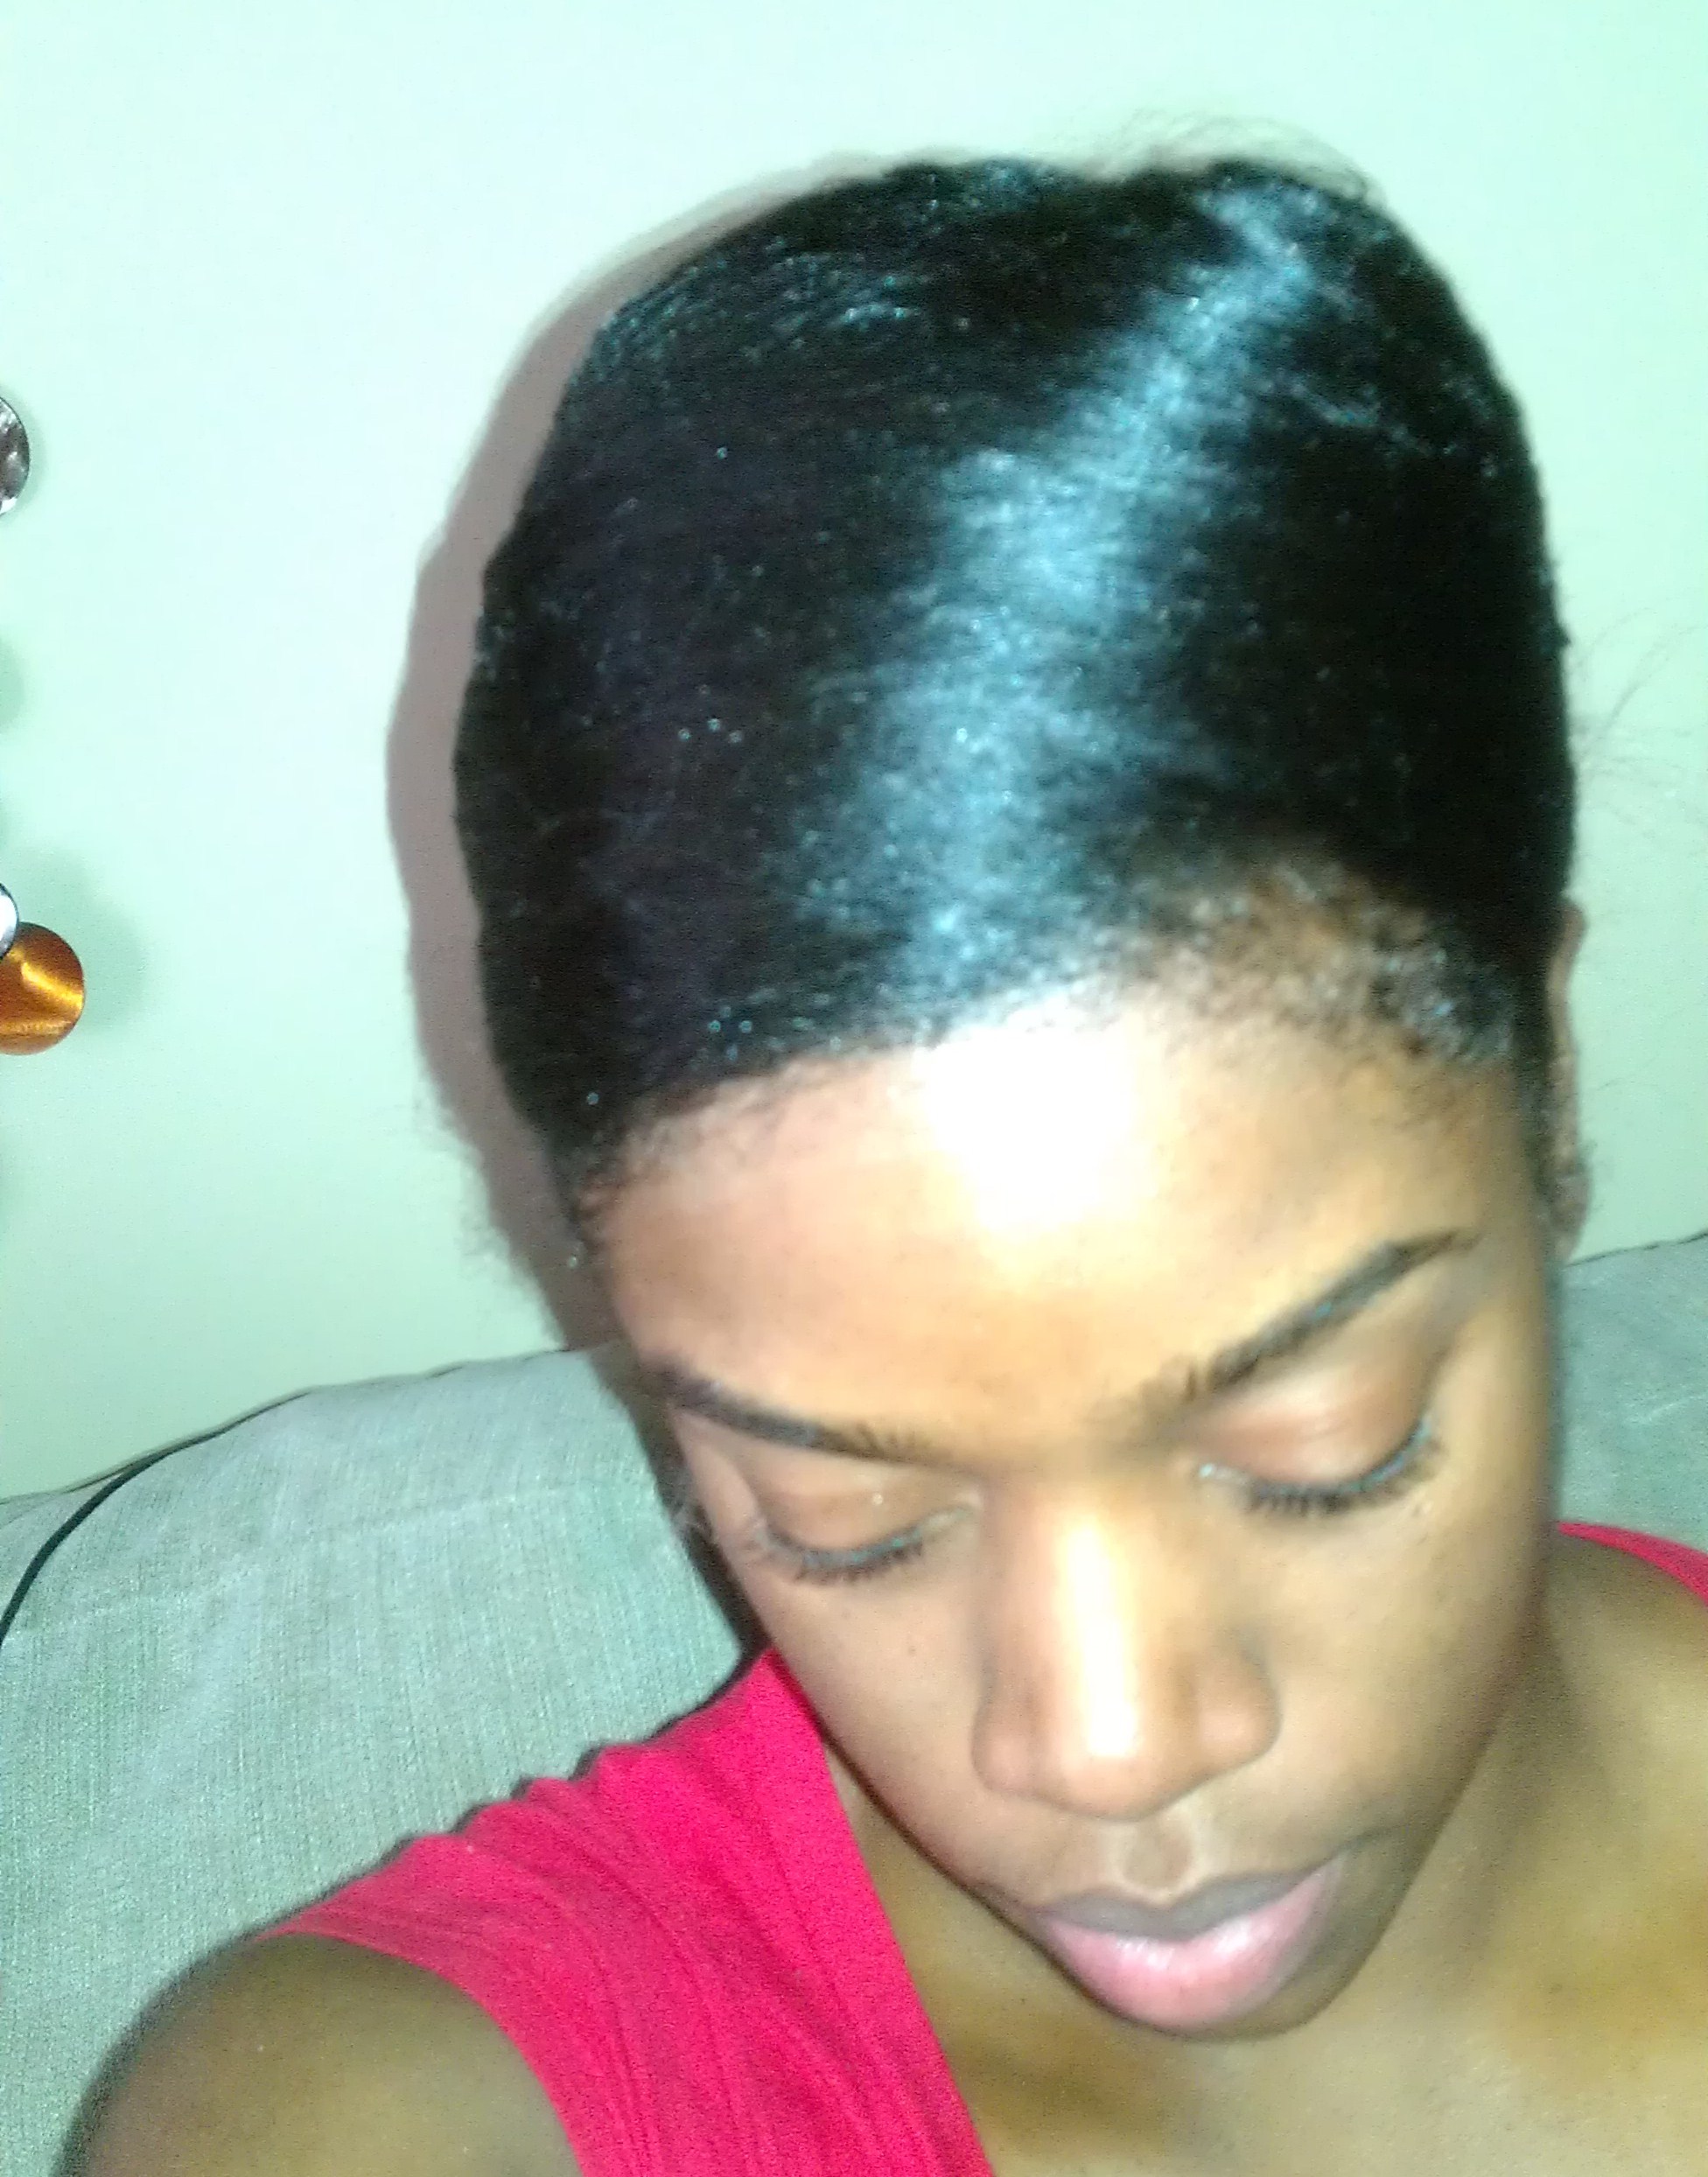
It has been raining for what feels like a month here is Bama and I hadn’t had any luck getting my styles to stick because of the ridiculous humidity. I thought that winter time would give me a break and I would have luscious 4-5 day hair…Sike! this winter has been super rainy as of late and I have been bunning forever!! As I sat at my desk yesterday trying to take the  perfect pic of myself to post on Instagram (LOL) I grew irritated because I was tired of seeing my OWN bun on so many of my pictures so I decided to do something about it…There has been a photo floating around the world-wide web of this gorgeous lady rocking some fierce Havana twists… See exhibit A.

EXACTLY!!! She’s the bomb right?!! I had to have them, so I decided that last night [YES last night] I would do them on a whim. I literally looked on YouTube at Black Onyx’s wonderful and easy tutorial on her Havana Twists and went directly to Solid Gold Beauty Supply Store and got the supplies.

IMG_20130205_094234

Here’s what I used:

3 Packs of EQUAL Marley Braid Hair

Jamaican Mango&Lime Lock and Twist Gel

A Detangling Brush (which ever you prefer)

A Spray bottle filled with water (optional, to dampen hair)

A Blow Dryer

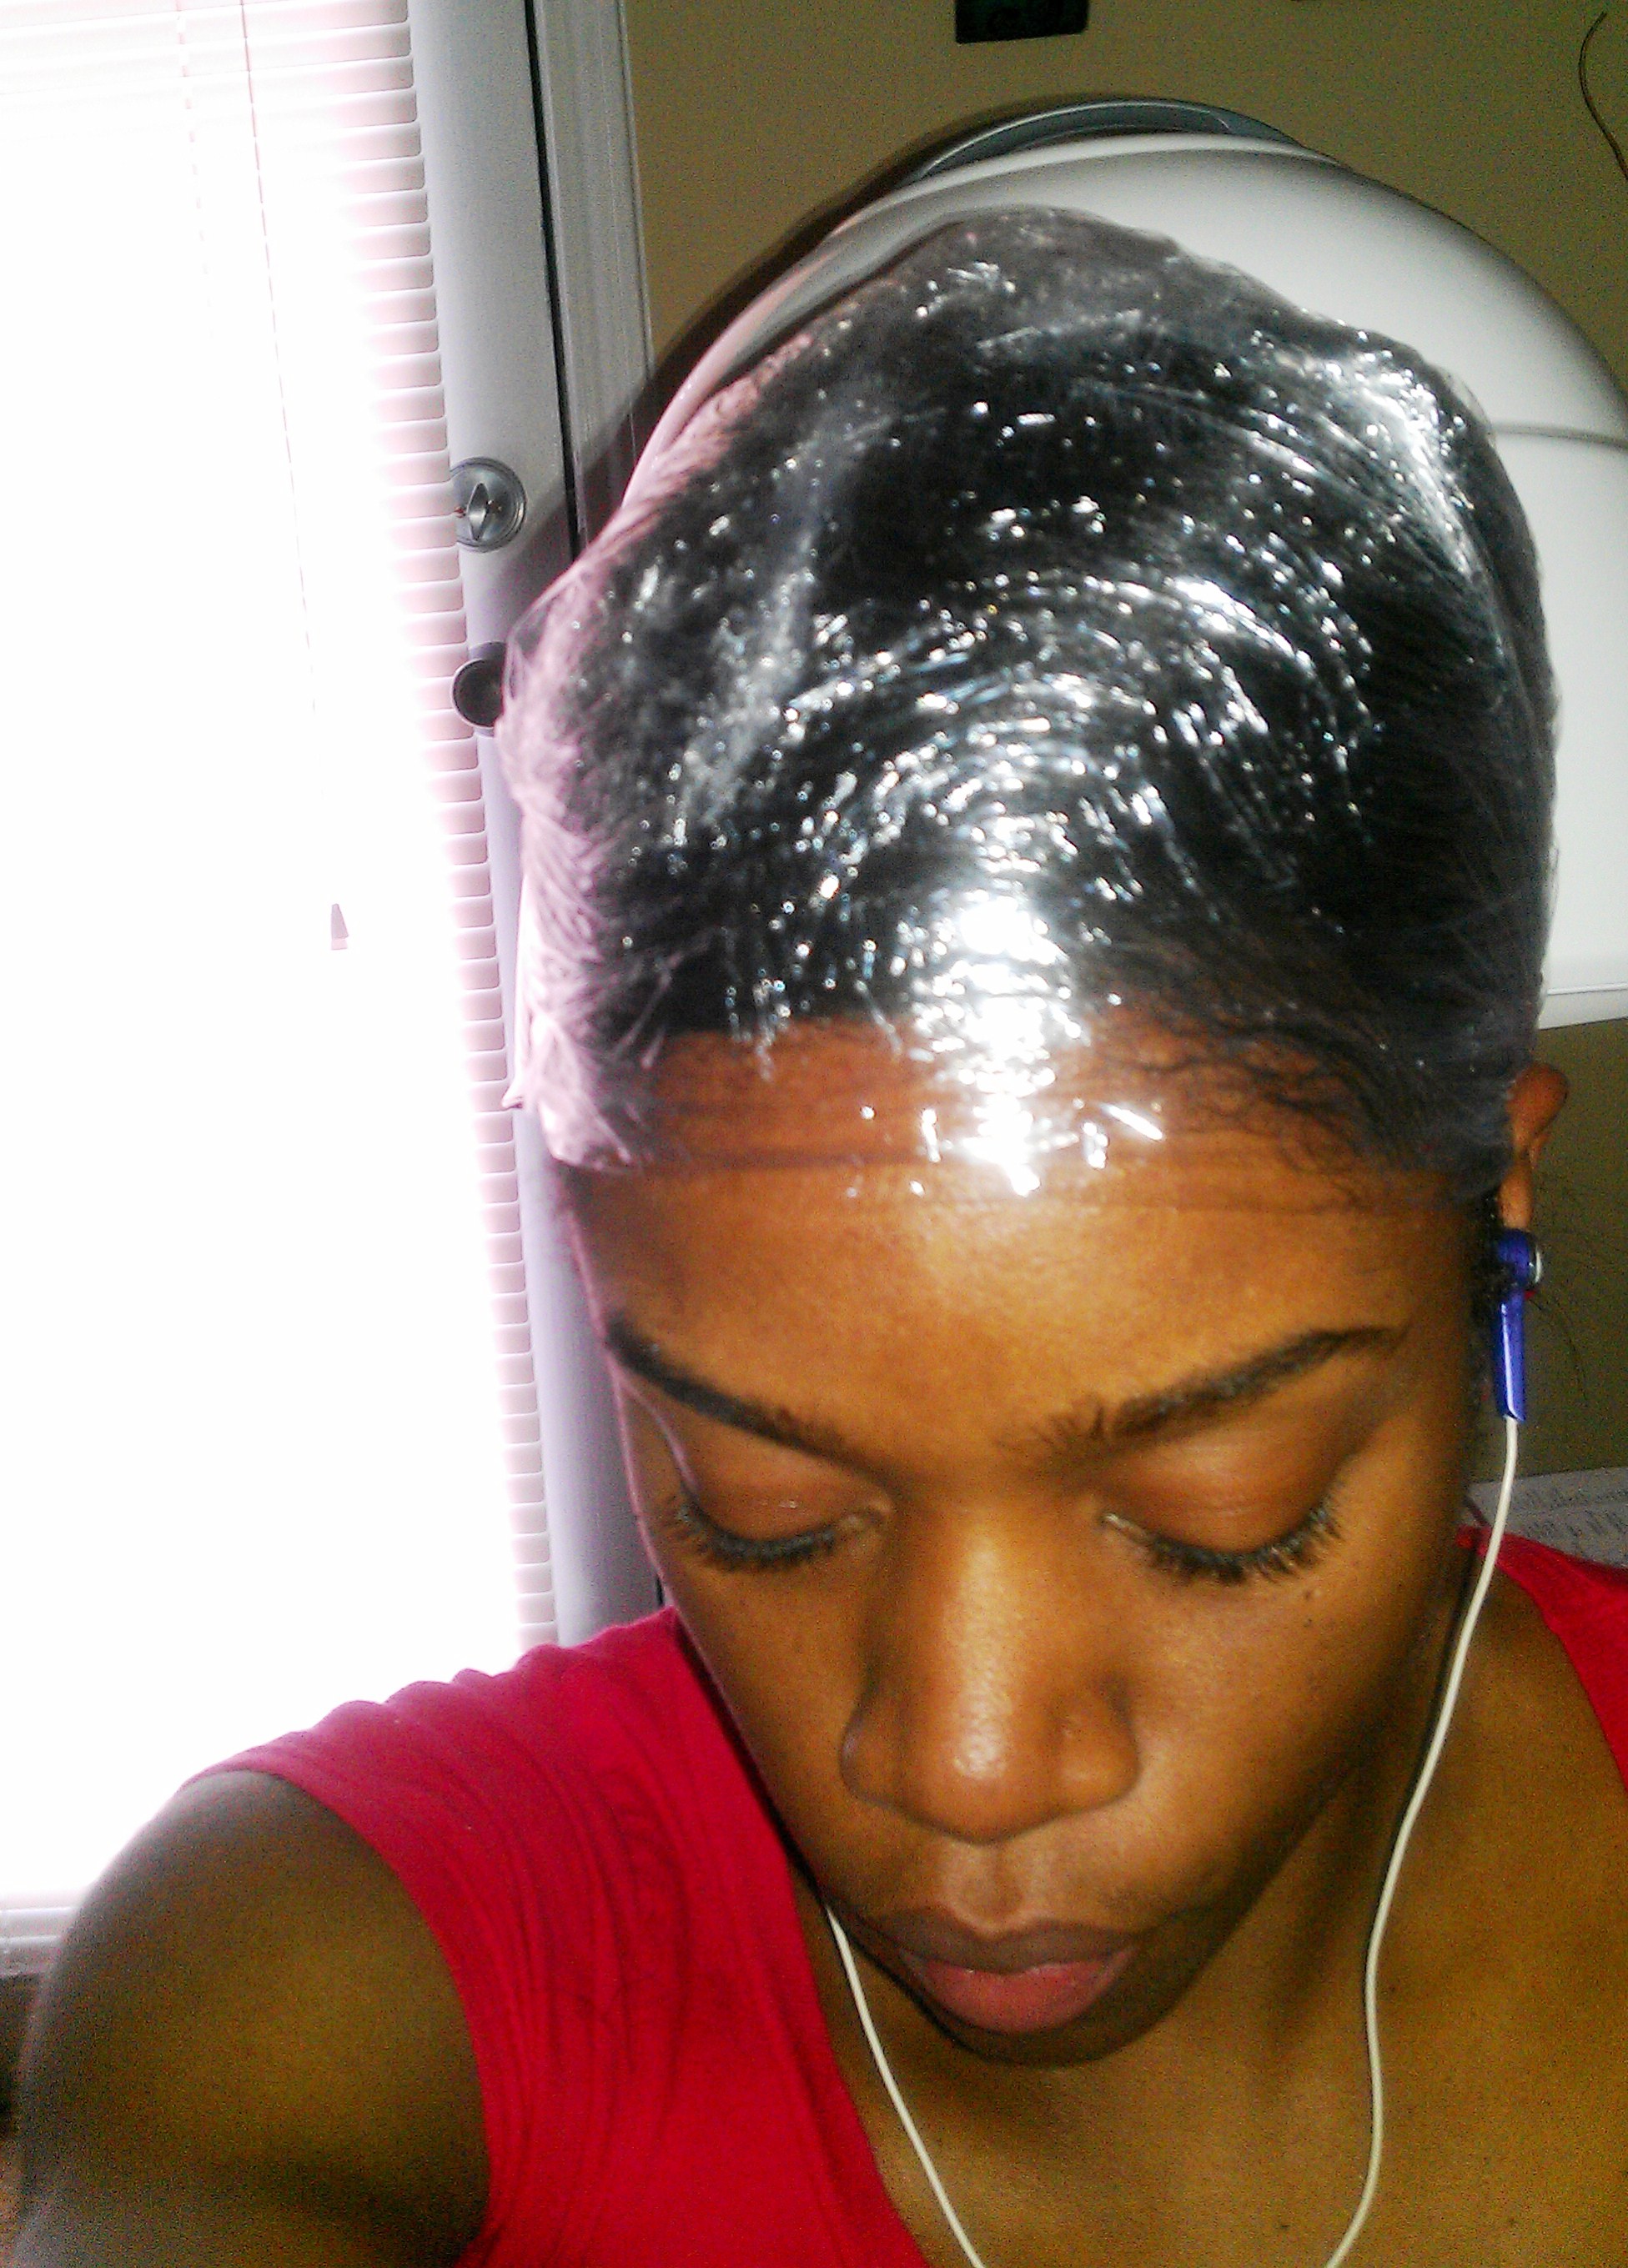
Starting with freshly washed and conditioned hair, I used a cotton T-Shirt to remove the excess water from my hair. I wrapped the T-Shirt around my head like a turban for about 15 minutes. After it was about 80% dry, I separated my hair into 4 quadrants and clamped them into place. Section by section, I sealed my hair with DAX grease [I’m going to use oil next time] and lightly blow dried my hair WITHOUT the comb attachment, not to dry it out, but just to get the rest of the water out of my hair. After the Section was dry, I put 2-3 chunky twists in the section and wrap them around themselves to form a bun, then secured them with a clamp once again.

Havana Twists 002


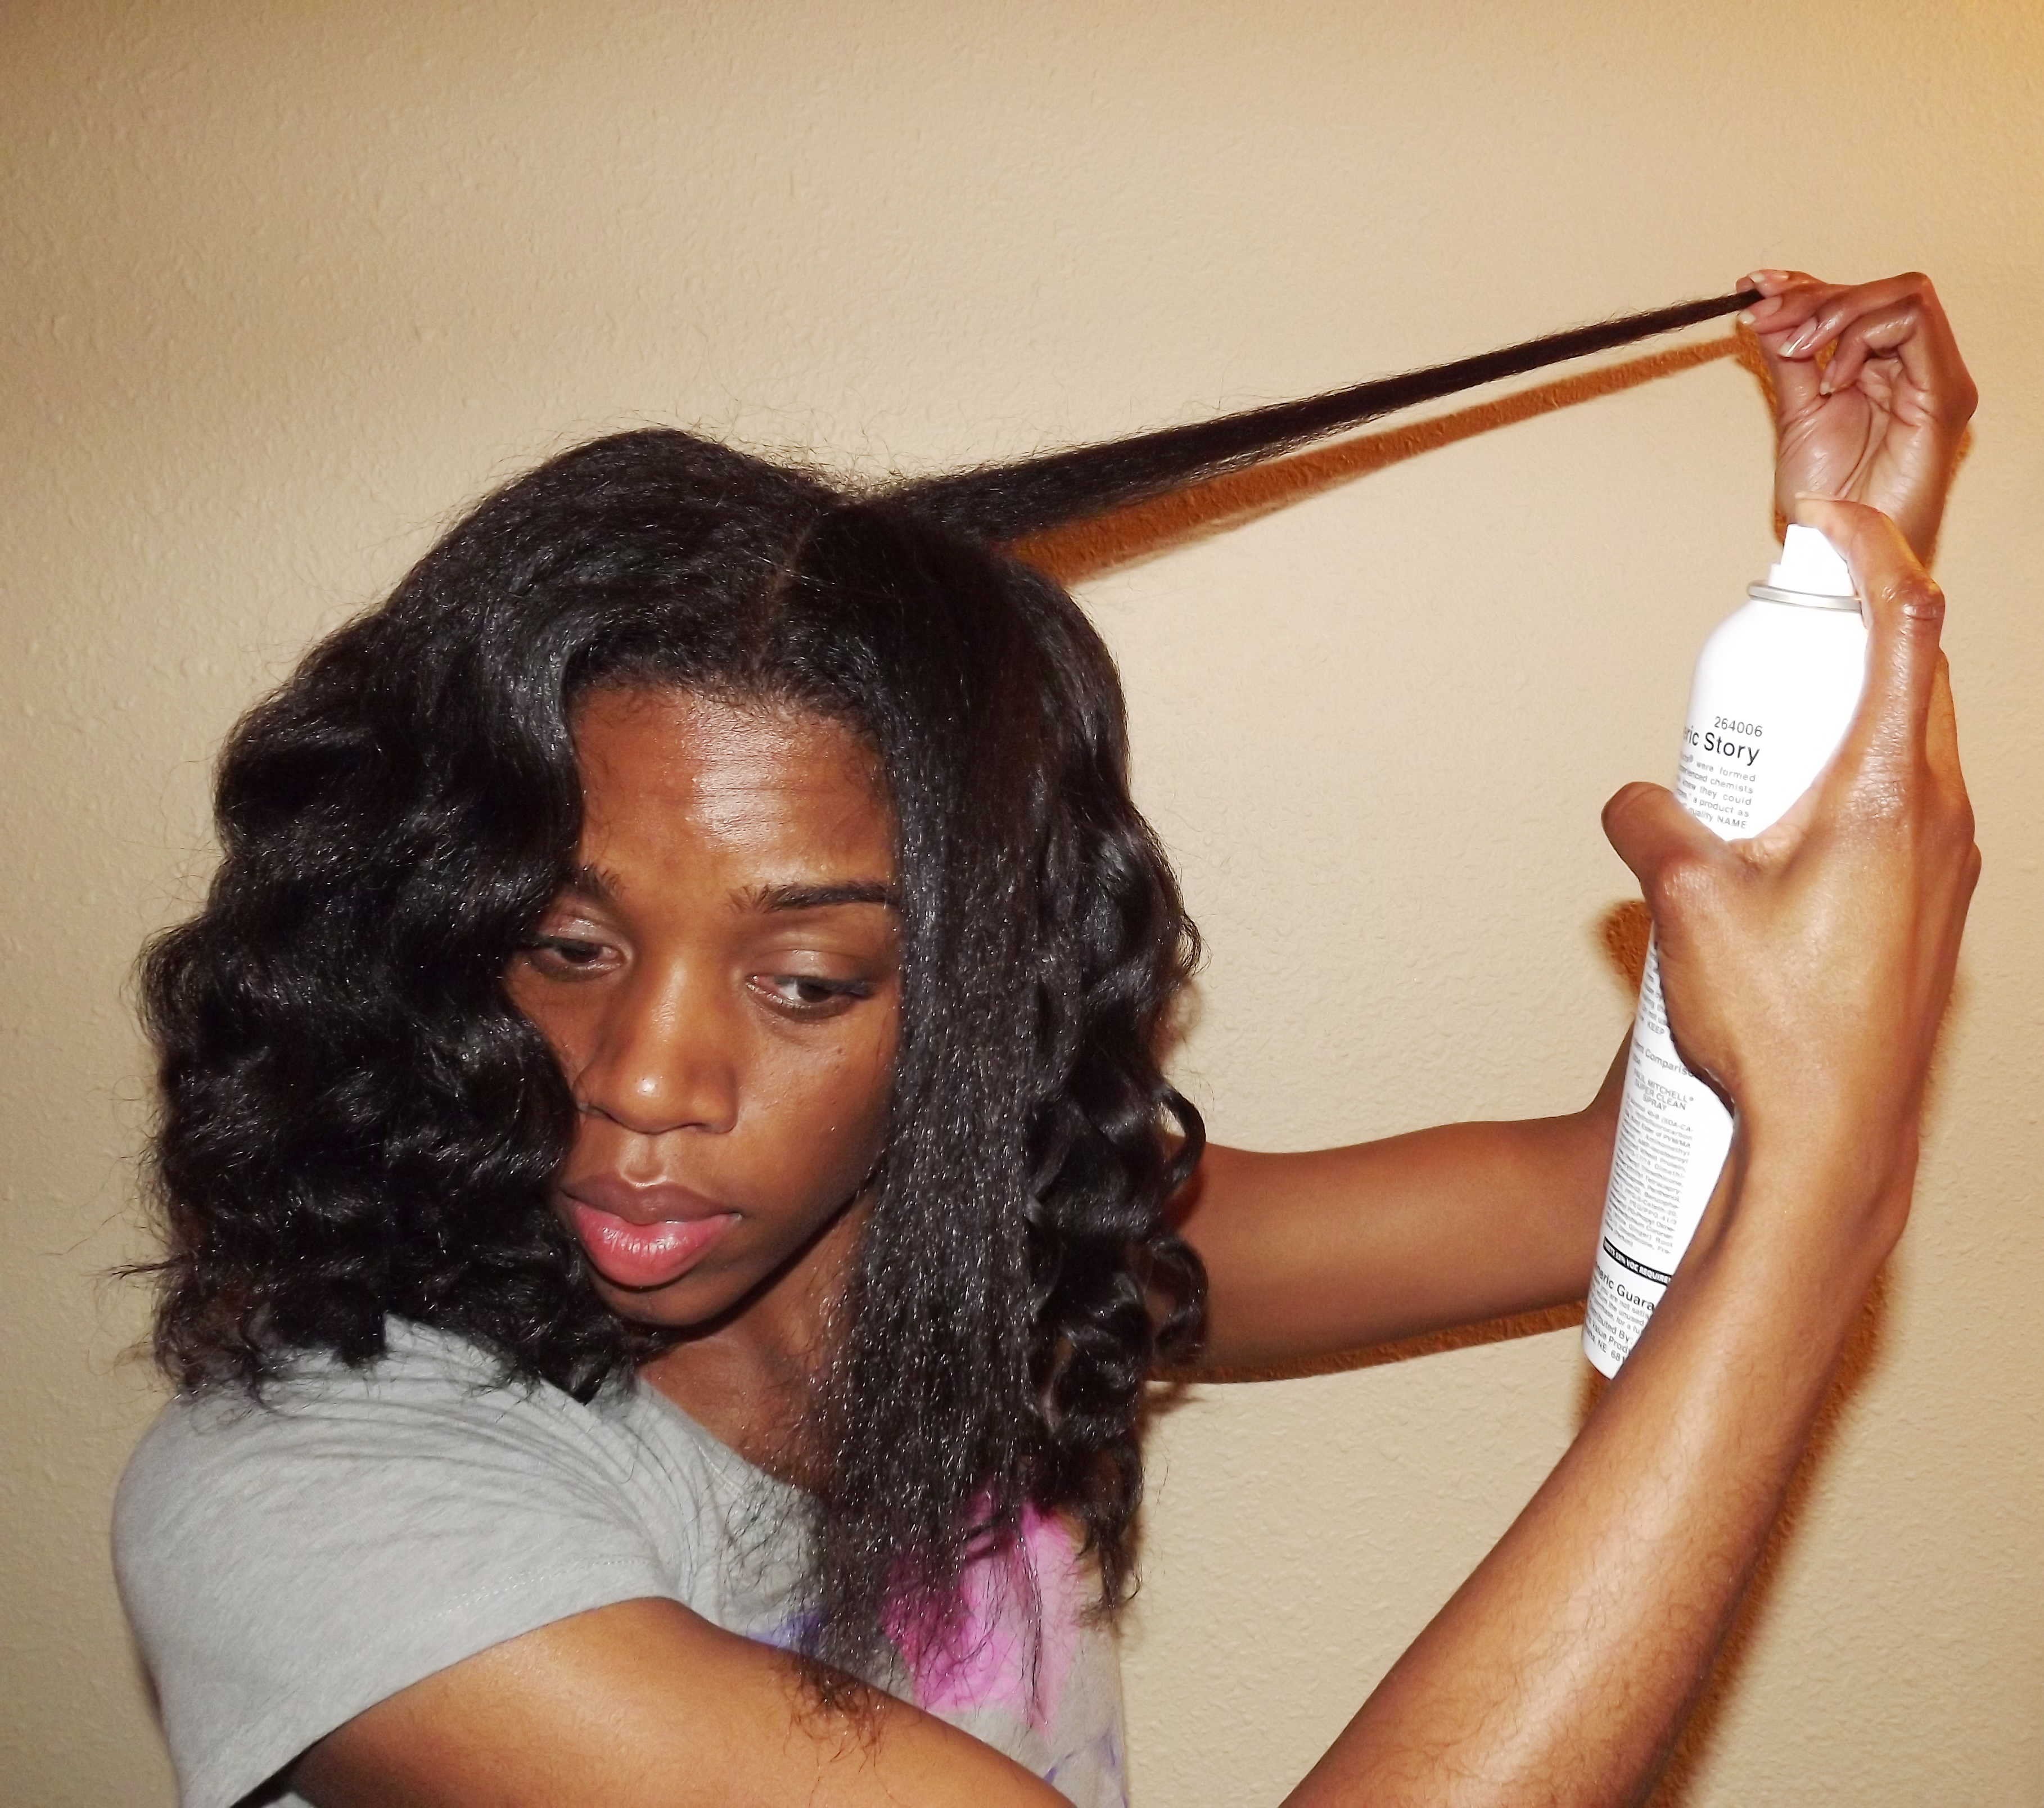
Taking one section at a time, I unraveled the chunky twists and finger parted 1-2 inch sections. I chose to finger part because I wanted a more natural and believable style and straight parts with twists and braids sometimes look so obvious that it’s extensions. I wanted the look of two strand twists. I secured the rest of the hair in the section to make sure it was out of my way. Havana Twists 012


From the large section, I separated a small portion of hair in the BACK of the section. I then applied Jamaican Mango&Lime gel to the ends of both the small and large sections of hair. 

Havana Twists 015


Then, I took two wefts of the Marley braid hair and linked them around each other, making sure that the ends of both wefts were even with each other.

Havana Twists 007


Grabbing the small section at the base, I used it as the center section for the starter braid and braided the Marley hair onto my hair. I did about three turns for each braid. DO NOT make the braided section too long, or it will show. The braid is just to secure the Marley Hair.

Havana Twists 016

Havana Twists 017


After 3 turns to create the starter braid to attach the Marley hair to mine, I grouped my hair [originally the small separated section] with one of the Marley braid wefts to make 2 strands for a two strand twist. Then I grabbed the big section, split it in two and divided it between the 2 strands.

Havana Twists 018

Havana Twists 019

Havana Twists 021


Now comes the easy part. I twisted the extensions with my hair from root to end.

Havana Twists 022

Havana Twists 023

Havana Twists 024


It might seem or feel as if the braid is going to show while you are twisting, but once you release the hair when you are done, the root with relax and swell, camouflaging the braid.

Havana Twists 025


When I got to the ends, I rolled them around a whit perm rod about 3-4 times and secured the rod.

Havana Twists 027 

When I finished twisting my entire head and securing the ends with rollers, I divided the twists into 4 quadrants again. Sectioning the hair keeps it organized while you dip them in to the hot water and set the curls on the ends of the Marley hair. I filled a tea-pot with water, let it come to a boil and poured the hot water into a bowl. I grabbed each section one by one, and lowered the ends of the twists into the hot water for 1-2 minutes, being sure to submerge each roller completely. I removed the twists from the water and patted the hair dry with a towel.

Havana Twists 031

Havana Twists 032

Havana Twists 033


I tied my hair with a silk/satin scarf leaving the rollers in overnight.  In the morning, I took the rollers out and blow dried the excess water from the ends of the twists, Then I removed the scarf.

Havana Twists 035

Havana Twists 036

Havana Twists 038

Havana Twists 039

Havana Twists 040

 IMG_20130205_095401

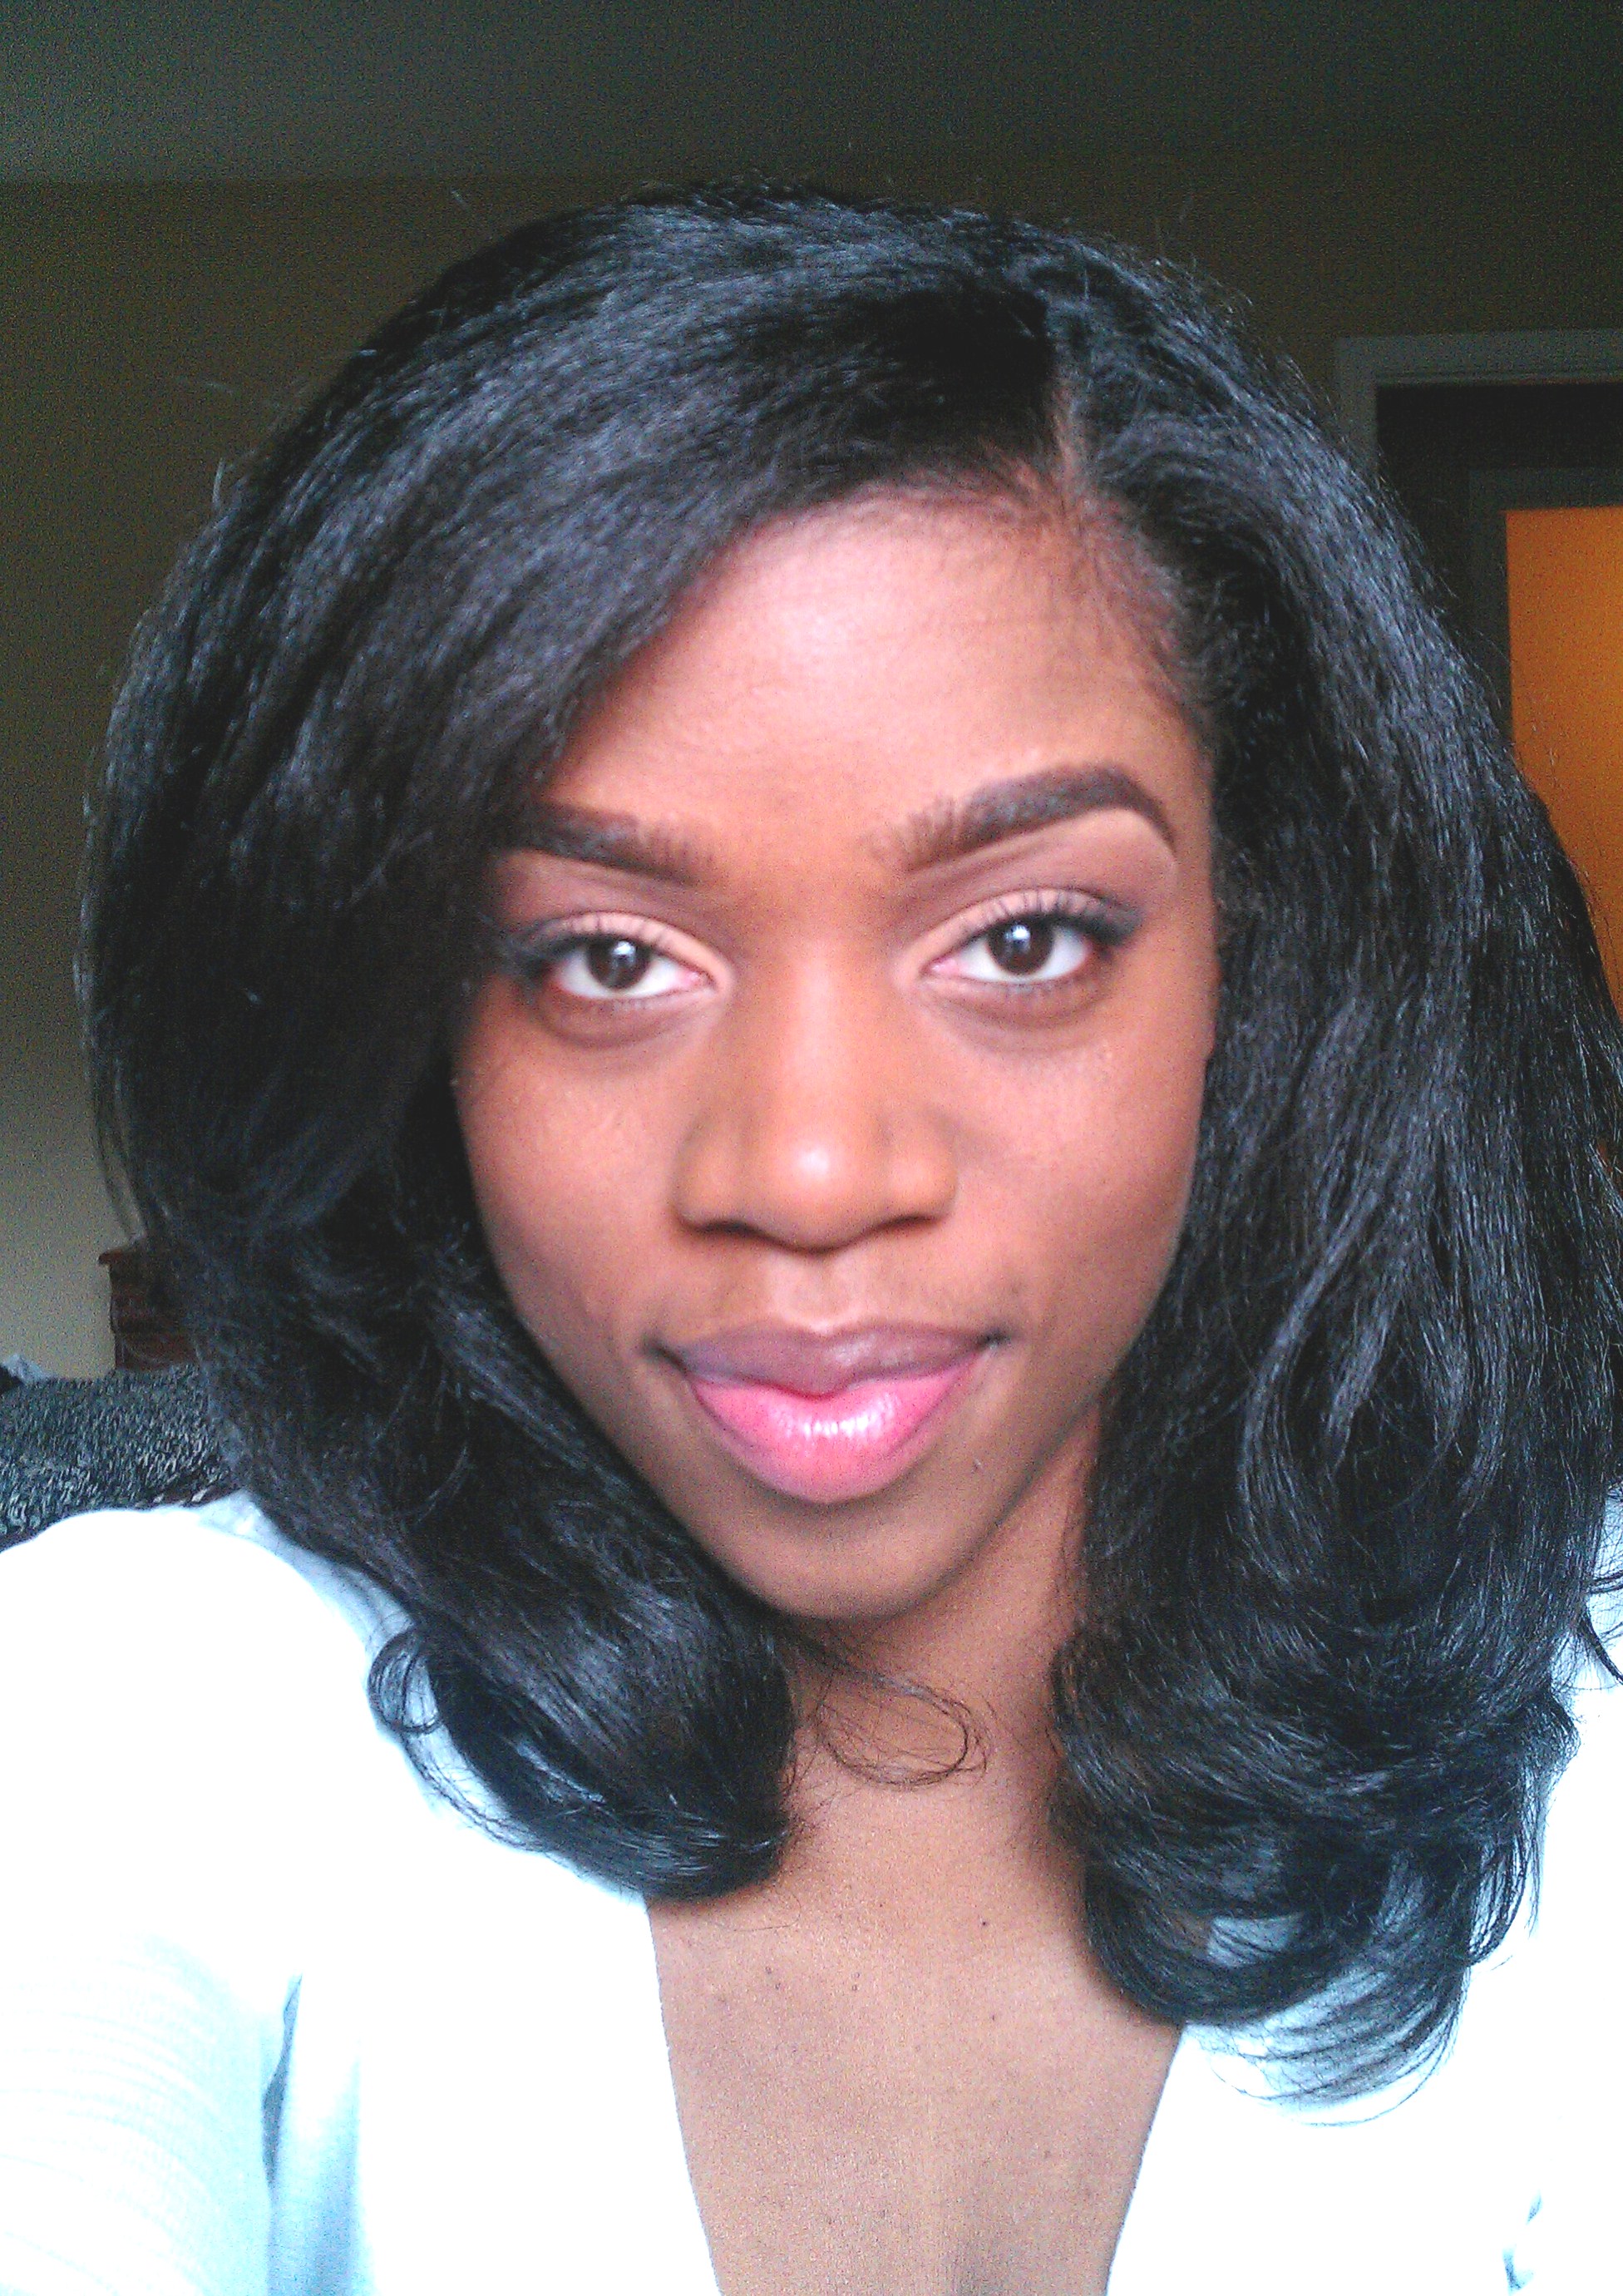
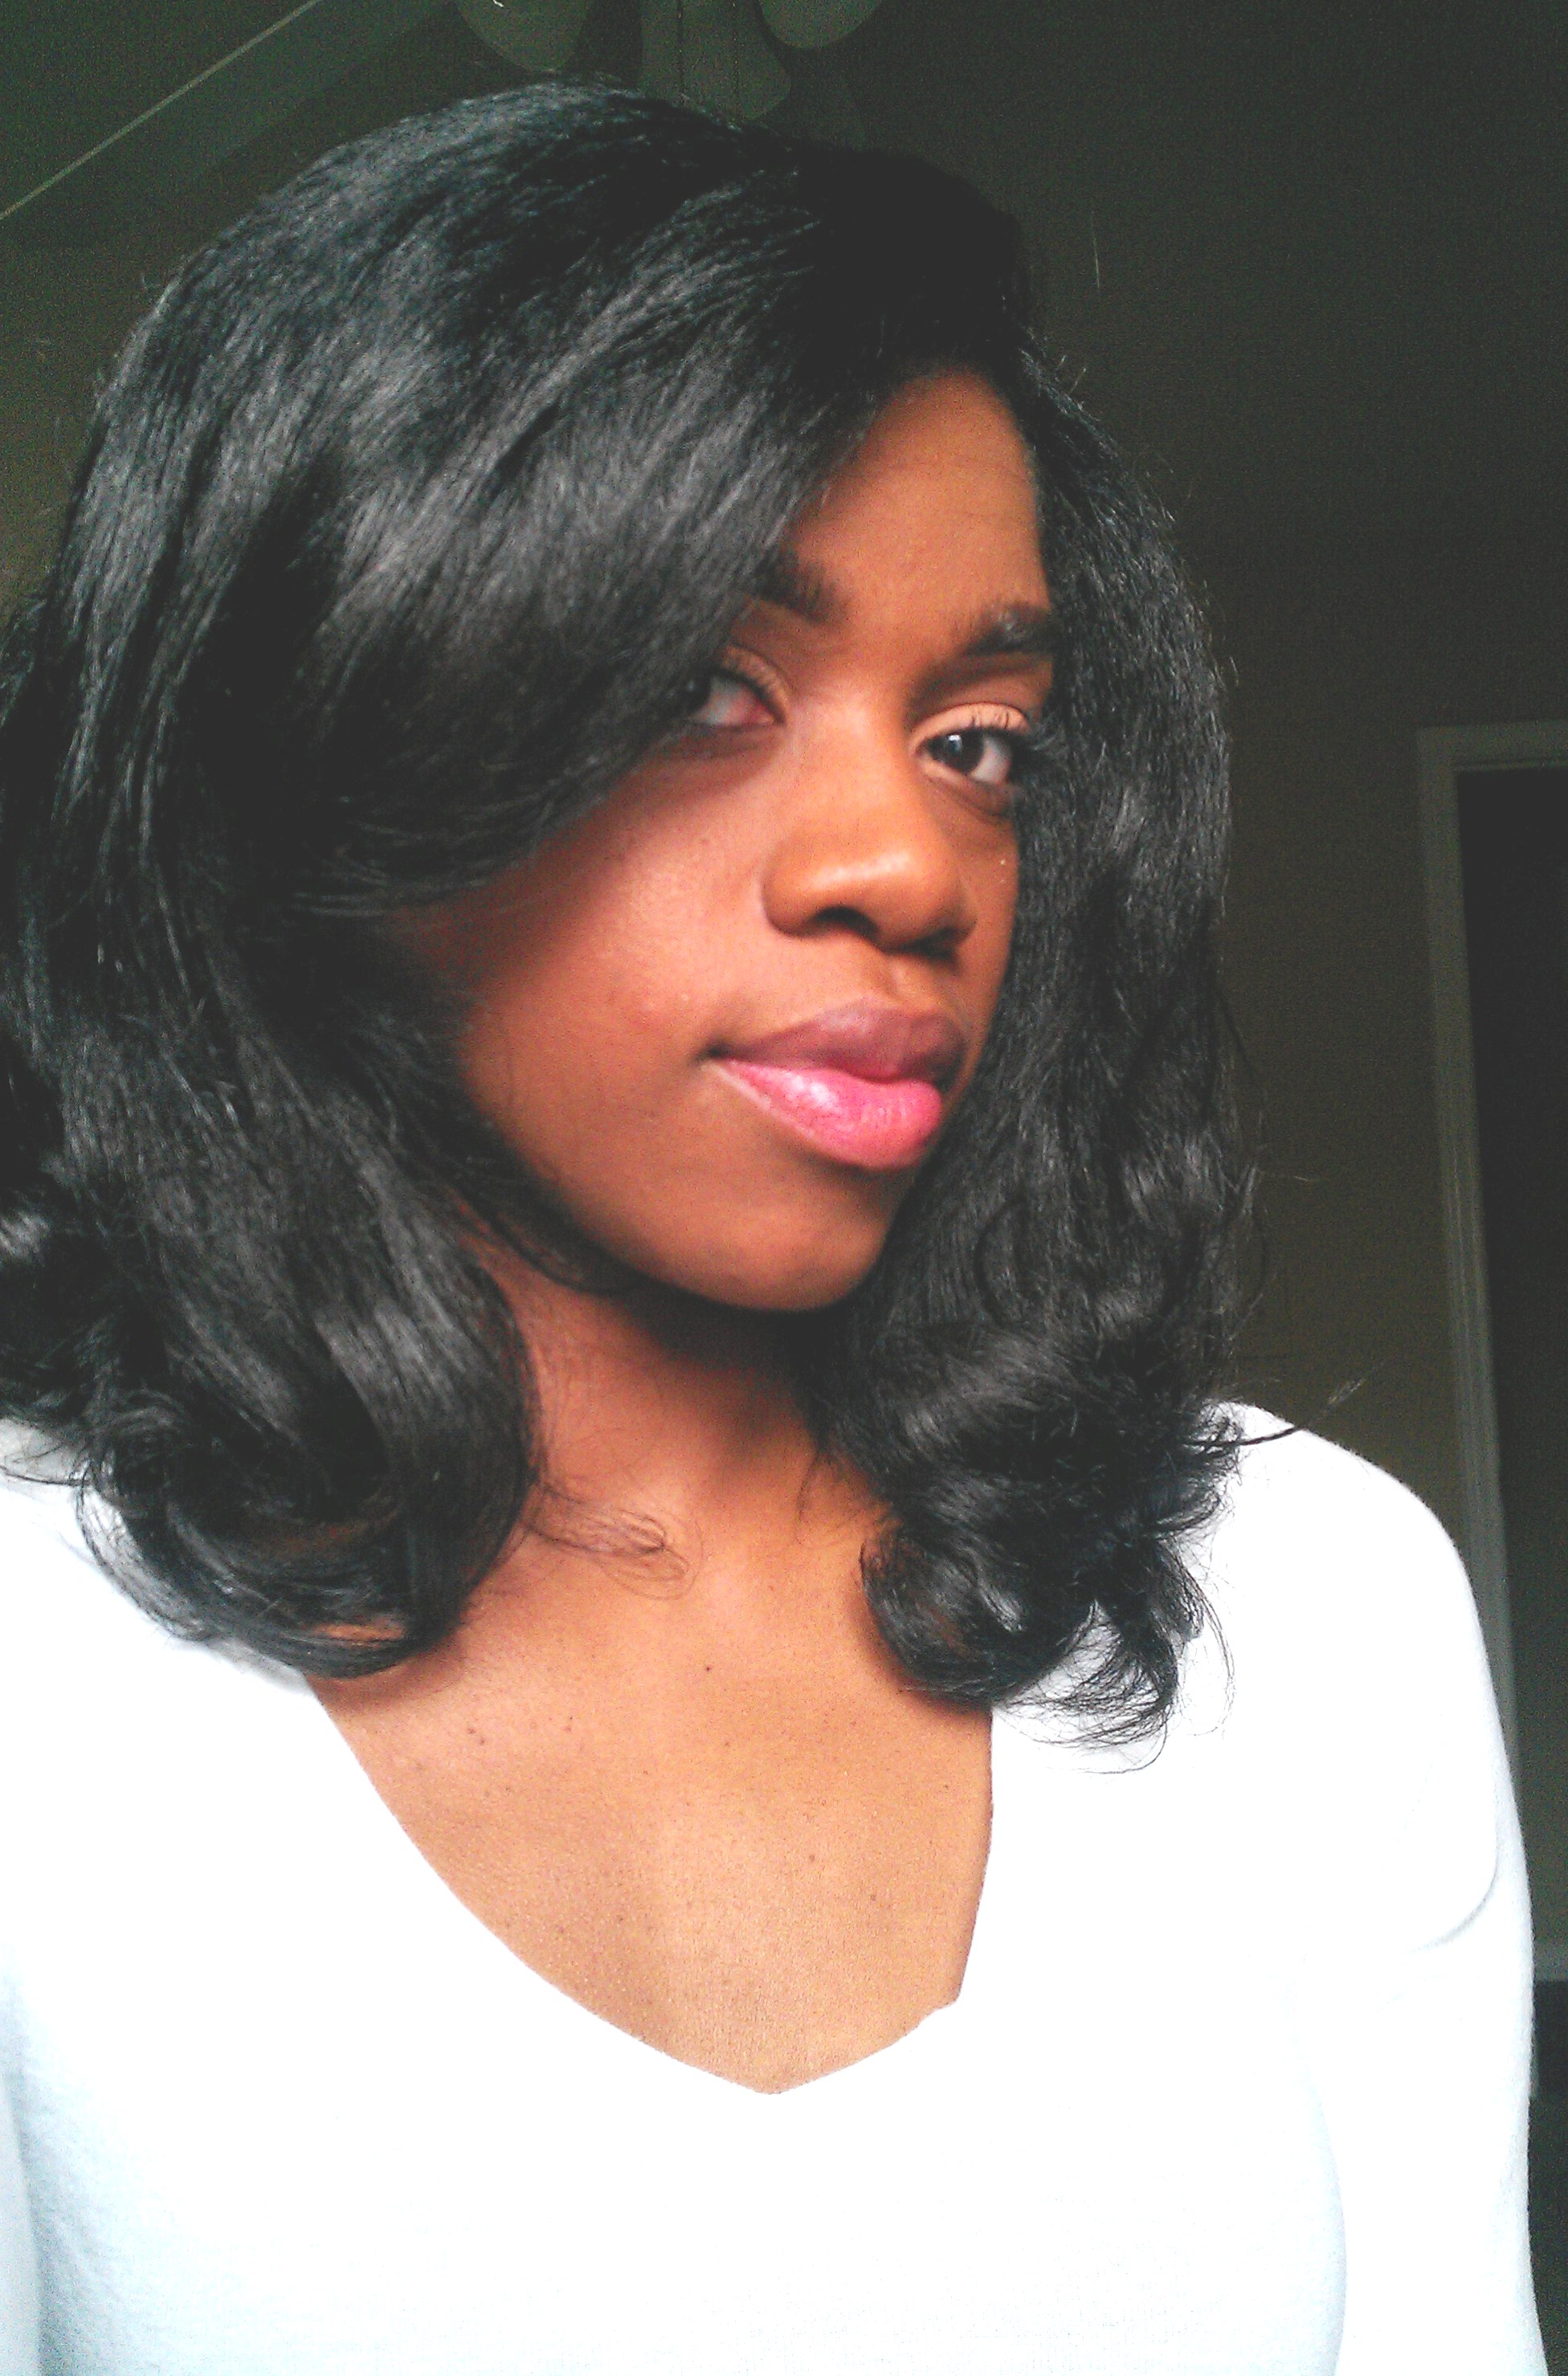
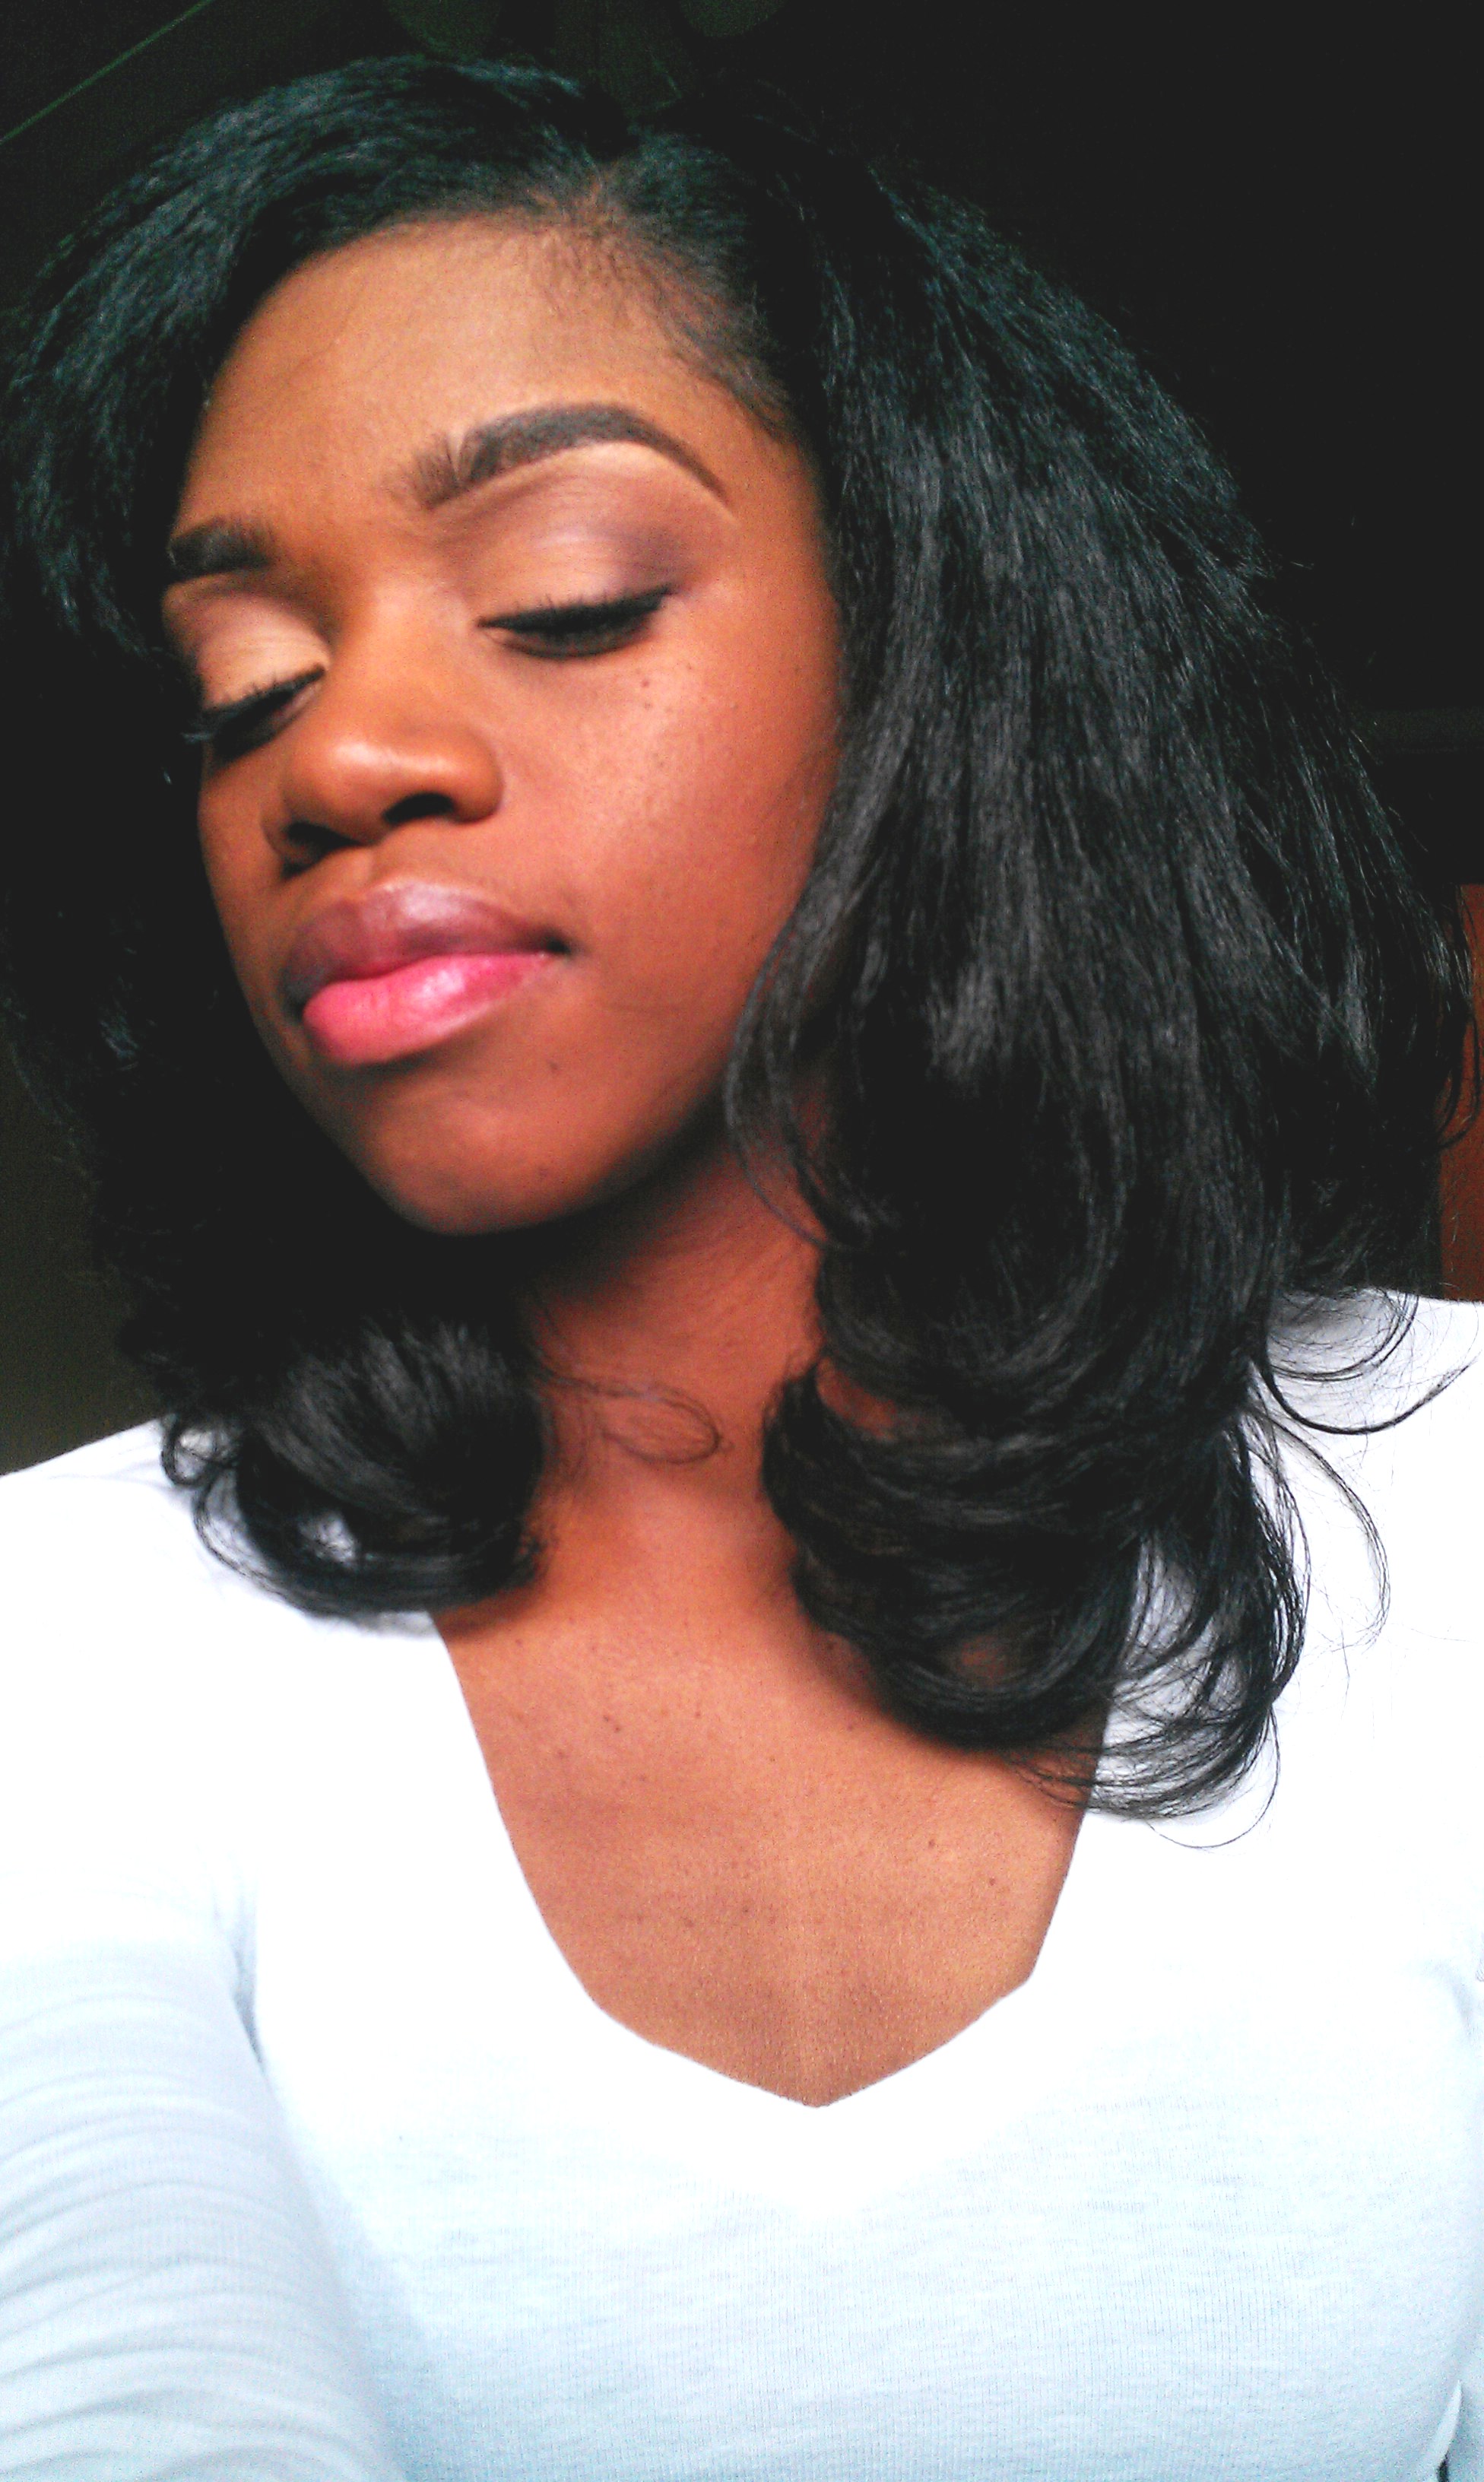
I am blown away at how beautiful these twists came out 1.) because I am THEE worst at braiding, and 2.) It was my very first time braiding or twisting with extensions. The style took me 4 hours to complete, which is so hilarious to me because it takes me about the same amount of time to wash, deep condition and flat-iron my OWN hair. LOL. Considering that, I think I made good time with this style. Not bad for a braiding novice such as myself. To maintain the twists I purchased TALIAH WAAJID MOISTURE CLENZ spray from Solid Gold Beauty Supply which I will use as needed. The spray has tea tree oil which with help with itchy dry scalp without leaving lots of build up. I am so happy, I’m in natural hair love. 🙂 I hope with all my heart that this helps another non-braider like myself!


Easy Peasy!

Lina

Share this:

  • Facebook
  • Twitter
  • Email
  • Pinterest

Like this:

Like Loading...

Quick & Easy Roller Set Using the Ponytail Method

21 Monday Jan 2013

Posted by curlplease in Effortless Style, Hair Routine, Hair Stuff, Natural Hair

≈ 8 Comments

Tags

CurlPlease, Curls, easy, Hair, Natural Hair, Roller Set, Shampoo, Style, Tips

One Friday as I sat on my couch lurking on Youtube, I came across a tutorial on a rollerset using the ponytail method. After watching a few more, I decided to give it a try. I was truly surprised at the results. Because of the ponytails, I was able to install my rollers in half the time that it takes me to do a traditional roller set. The set looked so smooth and dried fast (Hooray!) and I loved it. This is a good method to have in your arsenal.

Here’s what you’ll need:

24-30 Bouffant rollers (I used the snap on type), Foam wrap, a wide tooth rat-tail comb, narrow tooth rat-tail comb, a spray bottle filled with water (to re-wet hair if needed), scissors, Rubber bands, Two hair roller hair nets, and an electric hot comb.

I started with washed and deep conditioned hair. Then I sectioned my wet (but not dripping) hair into three sections ear to ear front, crown and back. I each section make 2 inch by 2 inch pony tails such small rubber bands. I used rubber bands because the small cotton scrunchies would 1. cover up too much of my hair at the base and it wouldn’t get dry and 2. You would have to slide them down your hair to get them off and I don’t like the thought of possibly ruining my curl.

Note: In order for this method to work and your roots to be smooth, the pony tails must me pulled firmly, not painfully tight, but snug so that the rubber bands don’t slide and so the roots will be straight.

For Each sectioned ponytail, apply foam wrapping lotion to the entire ponytail, split the hair in two, detangle with a wide tooth rat-tail comb, and smooth the ends with a narrow tooth rat-tail comb and install a roller.

Note: Each sectioned and split ponytail should have 2 rollers.

IMAG2070

IMAG2075

Continue rolling until your ponytails are all rolled…

IMAG2076

IMAG2079

IMAG2084

Put a hair net over your rollers to hold them firmly into place and keep them from hanging and sliding. I needed two, because my rollers were kind of big.

IMAG2088

IMAG2089

I sat under a hooded dryer for 2 hours, and then kept the rollers in for a while as I watched TV (and because I fell asleep :-)). You can also let them air dry if you prefer no heat.

After checking a few for complete dryness in each section, I removed all of the rollers.

IMAG2091

IMAG2093

Starting with the back sections, I used pair hair scissors and cut the rubber bands from each ponytail, being carefull not to cut my hair. After removing the rubber band from a section, I touched up the area (the roots) where the rubber bands had made a crease with an electric hot comb to smooth it out.

IMAG2098

IMAG2103

IMAG2105

IMAG2108

IMAG2110

IMAG2111

Setting the hair with the roots pulled taut really helps achieve the coveted smoothness that makes roller sets look so wonderful. I really like this method, and it really stands a chance to replace the traditional mohawk rollerset.

Try it! Enjoy!

Lina

Share this:

  • Facebook
  • Twitter
  • Email
  • Pinterest

Like this:

Like Loading...

My Wash n’ Go: The Difference a Year Can Make

14 Monday Jan 2013

Posted by curlplease in Hair Stuff, Natural Hair, Uncategorized

≈ 2 Comments

Tags

Before and After, CurlPlease, Curls, Ecostyler olive oil gel, Hair, Natural Hair, Pictures

I ran across a picture of my hair in a Wash n’ Go from January 13, 2012 and compared it to another picture I took in December 2012. What a difference a year makes!

??????????

January 2012


IMAG1779

 December 2012


Natural hair grows!!! There is not some magical product that makes it grow, its consistency…Wash, detangle, seal, protect. I trimmed my hair once in 2012.

Peace!

Lina

Share this:

  • Facebook
  • Twitter
  • Email
  • Pinterest

Like this:

Like Loading...

My 6 Must Have Hair Products

02 Wednesday Jan 2013

Posted by curlplease in Hair Stuff, Natural Hair

≈ 4 Comments

Tags

Accesories, CurlPlease, Eco Styler, Ecostyler olive oil gel, Hair, Natural Hair, Products, Puff, Tips

There are six hair products that I can’t live without. I know that at anytime, if I’m having a hair catastrophe, I can recover if I have these 6 things…

1. Thick Wide Tooth Rat Tail Comb

I use this comb to detangle and part my hair for twisting and styling.

2. Soft/Hard Bristle Brush

I use the hard bristles to smooth out ponytails and the soft bristles to smooth the ends of my hair for twists and to make my baby hair.

3. Eco Styler Gel (I prefer the Olive Oil type)

There are so many varieties of Eco Styler Gel!!! The Holds range from soft to maximum hold. I use this gel in some form in all of my styles. It works great for twist-outs and styling in general. I NEVER leave home with out it when I’m traveling.

4. Plastic Spray Bottle Filled with Water

Water is the ultimate moisturizer and hair loves water. I have a small spray bottle filled with water that I use to refresh my hair. It also comes in handy when I want to re-set my twists with out re-applying more products.

5. Goody Ouchless Elastic head Bands

These headbands are a life saver! I prefer to use head bands beacause they can be be worn around the entire head or you loop them around and make a smaller band to make pony tails, puffs or buns. They are also very very stretchy and are easy to use.

6. Jumbo Hair Pins

Emphasis on the JUMBO!! My hair is thick and only jumbo pins will do the trick when trying to secure my hair in styles like a “Tuck and Roll” or buns and updos. Hair pins are a staple in my styling as well.

There you have it! My Hair must haves!!

Lina

Share this:

  • Facebook
  • Twitter
  • Email
  • Pinterest

Like this:

Like Loading...
← Older posts

Enter your email address to follow this blog and receive notifications of new posts by email.

Join 2,121 other followers

Top Posts & Pages

  • Quick & Easy Roller Set Using the Ponytail Method
    Quick & Easy Roller Set Using the Ponytail Method
  • Flexi Rods on Bohyme Brazilian Wave Sew-in
    Flexi Rods on Bohyme Brazilian Wave Sew-in
  • Natural Hair Moisture Robbers
    Natural Hair Moisture Robbers
  • Natural Updo with Marley Braid Hair
    Natural Updo with Marley Braid Hair
  • Silk Wrapping Natural Hair
    Silk Wrapping Natural Hair
  • Using a Curl Wand on Natural Hair
    Using a Curl Wand on Natural Hair
  • Preserving a Roller Set on Natural Hair
    Preserving a Roller Set on Natural Hair

Recent Posts

  • SOAP BROWS TUTORIAL | NATURAL LOOKING BROWS
  • IT’S MY 20th VIDEO!!!| 20 RANDOM FACTS ABOUT ME
  • FASHION NOVA JEANS MINI HAUL| TRY-ON FOR TALL & SKINNY GIRLS
  • Wash-and-Go Tutorial
  • I’m Back and I’m Vloggin’!

Blog Stats

  • 209,938 hits

Archives

  • December 2016
  • November 2016
  • September 2014
  • July 2014
  • February 2014
  • June 2013
  • April 2013
  • March 2013
  • February 2013
  • January 2013
  • December 2012
  • November 2012
  • October 2012
  • September 2012
  • August 2012
  • July 2012
  • June 2012
  • May 2012
  • April 2012
  • March 2012
  • February 2012

Blogs I Stalk!

  • A Beautiful Mess
  • Black Girl with Long Hair
  • BLANK WHITE FRAMES
  • For the Fabulous and Frugal
  • Get Support
  • jadore-fashion
  • jeimysfashionloveaffair
  • kinky delicacy
  • kisforkinky
  • Sham I am Glam
  • The Feisty House
  • The Good Hair Blog

10 minute Accesories Alabama Anorak Jacket bebe Big Chop Birthday Blazer Blog Blow Dry Blush Bohyme Bohyme Brazilian Wave Bride bun Clothing Color Blocking Concealer Conditioner conservative Cooking Cosmetology Costmetology School Curlformers CurlPlease Curls dough nut earrings Easter Sunday easy Eco Styler Ecostyler olive oil gel Engineer Eyebrow Eyeshadow Fashion flat iron natural hair Food goals Graduate School Hair How To jumper lip gloss Love Make up mascara morning Natural Hair Natural Hair Meet-Up New Pencil Skirt Photos Pictures pony tail Products Protective Styles Puff rollers Roller Set Scarves Sew-in Shampoo Shopping Style Tips Tricks Turbans Twists Wash and Go weave Wedding Weekend Wigs Wraps

Meta

  • Register
  • Log in
  • Entries RSS
  • Comments RSS
  • WordPress.com
Advertisements

Top Rated

Create a free website or blog at WordPress.com.

loading Cancel
Post was not sent - check your email addresses!
Email check failed, please try again
Sorry, your blog cannot share posts by email.
Cancel
Privacy & Cookies: This site uses cookies. By continuing to use this website, you agree to their use.
To find out more, including how to control cookies, see here: Cookie Policy
%d bloggers like this: