Tags

Tutorial Coming Soom by Popular Demand!

28 Friday Jun 2013
Posted in Hair Stuff, Natural Hair
Tags
Tutorial Coming Soom by Popular Demand!
24 Wednesday Apr 2013
Posted in Effortless Style, Hair Stuff, Natural Hair, Style
Tags
CurlPlease, easy, Hair, How To, Natural Hair, Style, Twists
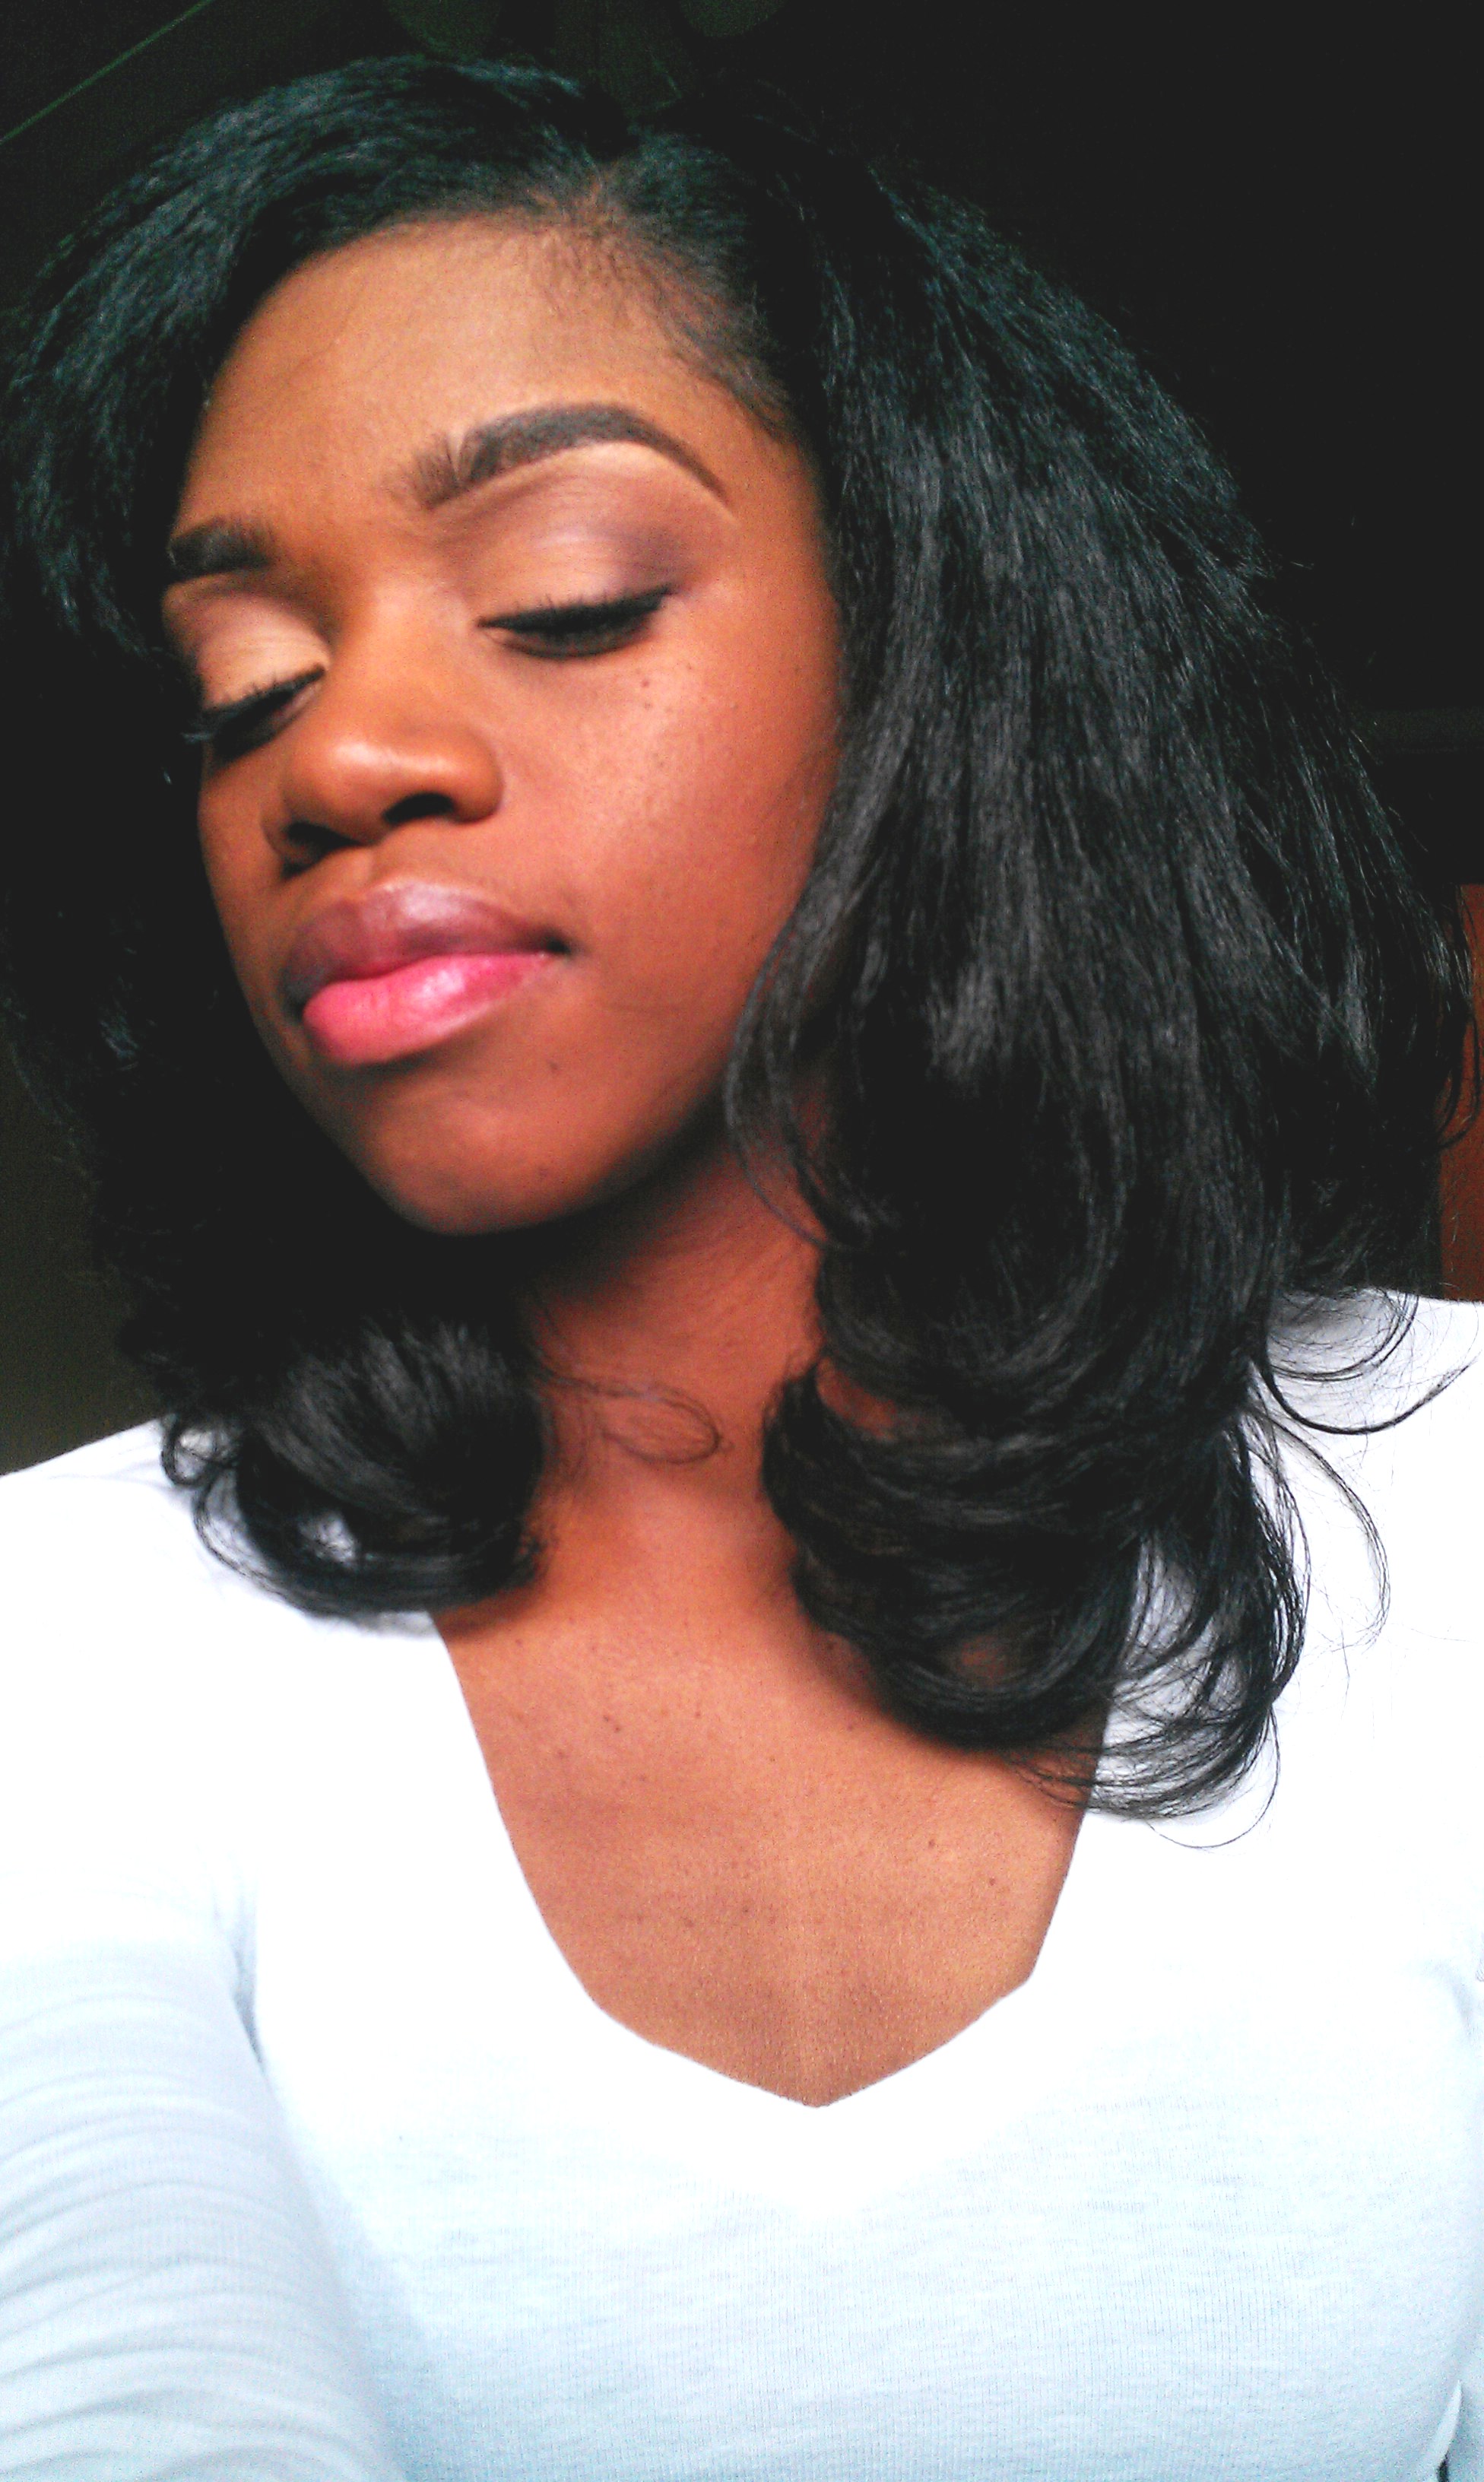
Hey Everybody! Yes, I am still living. I have so much to update you all on but that is a totally separate post on its own. I went out-of-town about a month ago and I had business dinner to attend, but I had twists. I didn’t want to look unfinished so I tried a pin curl style on a whim. It turned out beautifully.
I started with regular medium-sized two strand twists that I had done previously. I made an off-center part in the front and using the twists in the front, I made two 2-3 inch sections on the right and one section on the left.
In the back, I made about 3-4 big sections. Holding the sections of the twists flat to my scalp, I used my other hand to circle the twists around the center and base, keeping them as flat as possible to my head and pining them down every 1-2 inches until I got to the ends of the twists. I pinned the sections in the front slightly toward to my face to make a small bang.
I repeated the process for all of the sections. As I mentioned before, the style was on a whim so I don’t have any pictures of the back.


Thanks for stopping by!
Lina
11 Monday Mar 2013
Posted in Hair Routine, Hair Stuff, Natural Hair, Style
Tags
Curl Wand, CurlPlease, Curls, easy, Hair, How To, Jilbere, Love, Natural Hair, Products, Style, Tips
I recently purchased a Jilbere Curl Wand from Sally’s Beauty Supply. I picked it up for about $55. I chose Jilbere over any other brand because of the good results I’ve had using my 1″ and 1/2″ wide flat irons that I own by Jilbere. It was kind of awkward finding the best position for my hands to hold the wand, but around the 3rd or 4th curl, I had a nice routine going. I started by washing and conditioning my hair. Then I let it dry about 85% using a cotton T-Shirt wrapped around my hair like a turban. I took the turban off, sectioned my hair into 4 quadrants, sprayed each section generously with Aveda Brilliant Damage Control Spray and clamped them into place. 
Before blow drying each section, I applied a quarter sized amount of grapeseed oil from root to end. Grapeseed oil is a natural heat protectant with a high smoke point of around 400 degrees. I made sure to be thorough with my blow drying so that the curls would be as smooth as possible and would require less direct heat contact with the wand.

The Curl Wand also came with this really neat glove to protect your fingers from the hot curling wand. I opted to go with out the glove because it hindered my grip on the hair and I didn’t like it.

First, I took 1″ sections of hair and sprayed the 1″ section generously with medium hold hair spray.
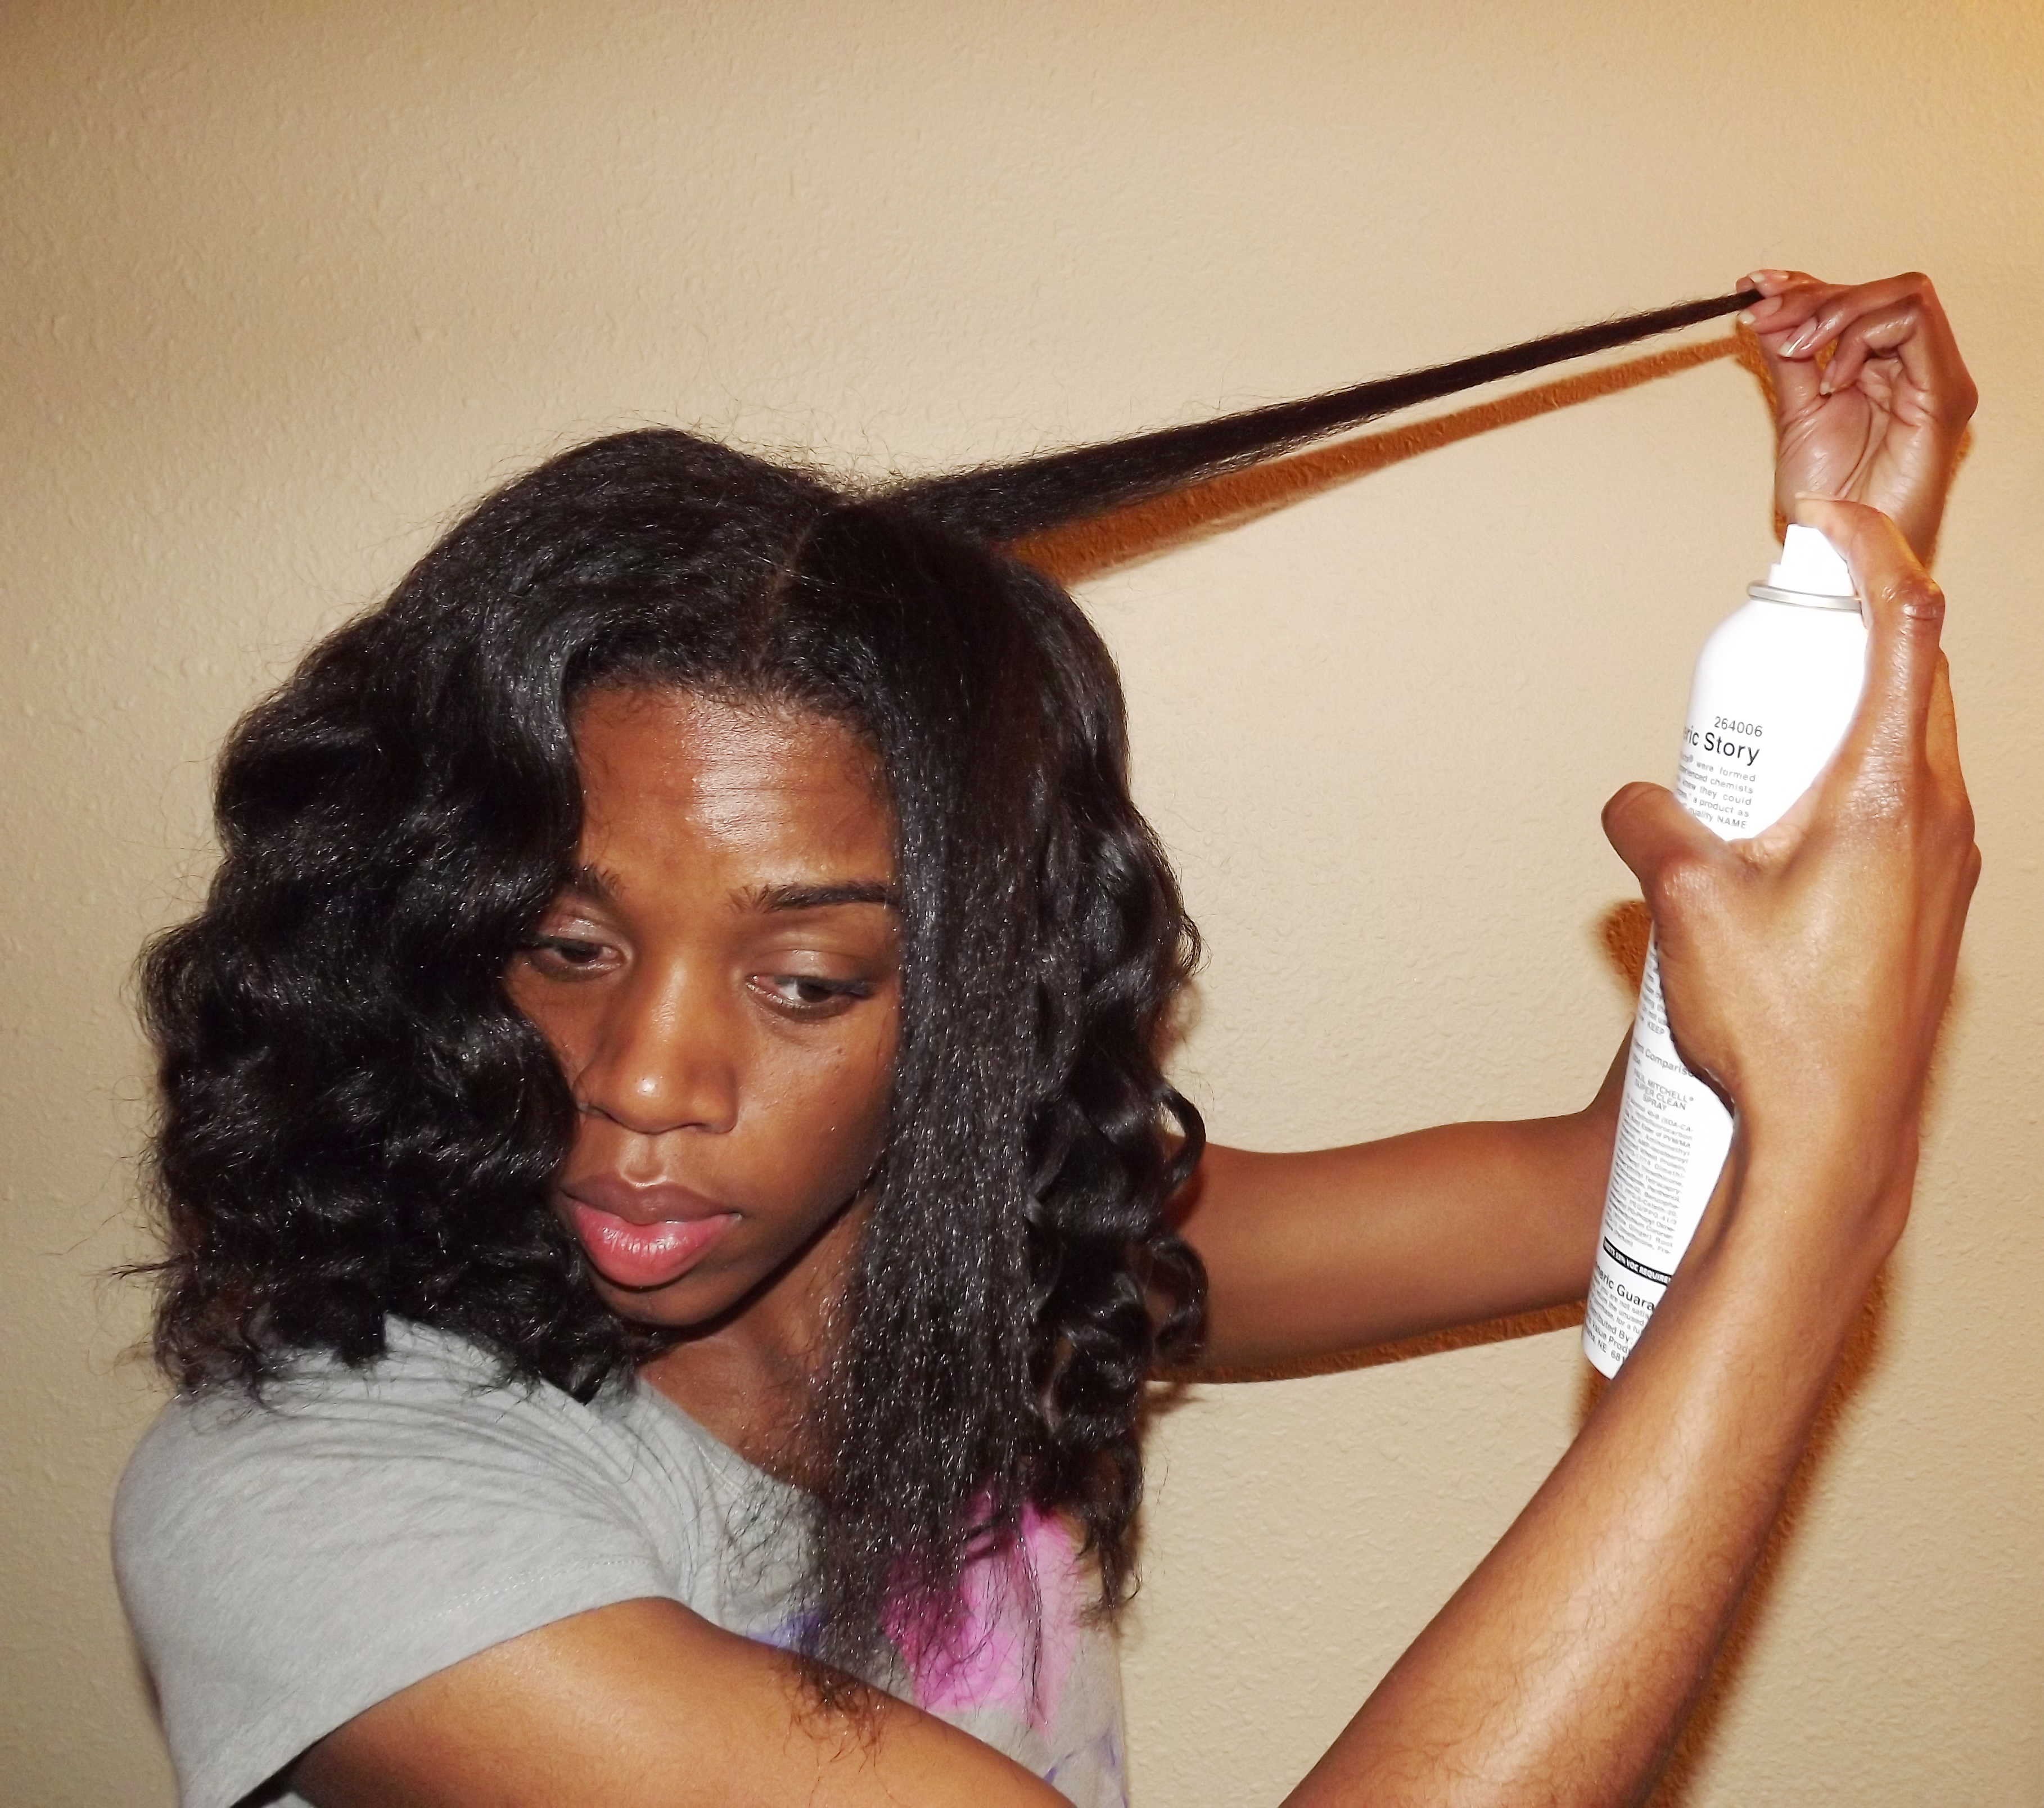
To curl the section, grab the center of the length of the hair firmly, position the curling wand base (the wide end) at the base in front of the section of hair and wrap your hair forward and under around the wand until you reach the end of your hair. Then, hold the end of your hair tought around the end of the wand and count to ten.

 Release the hair from the wand and Voila!! Gorgeous curls abound!


I’m soooooo happy I purchased this wand!!! It did a great job! This style is perfect for special occasions and doesn’t take long to do at all. It’s also an easy style to touch up. The only con is that, if you don’t flat-iron your hair before using the wand, the style won’t last long. However, flat ironing before “curl wanding” takes away the body and volume. Either way, I love this style! This is great date, wedding, and any occasion hair! Two thumbs up!
TIPS!
Enjoy!
Lina
07 Thursday Mar 2013
Good day lovely readers!!! The results of the giveaway drawing are as follows…

RandomResult.com Pick items
Enter items (one per line): thriftcouture19 Melissa Christina fashionforlunch brittanyjay1986 Wrennise Smith Lauren Gabe Must Have Boxes flyycoast2coast sophieelouu shanj Chyna Shantae Dorsey tanisharhianna923 Number of items to pick:
Sequence=1 Draw date: 2013-03-06 20:18:26
place #1: Gabe Need a proof? Take a ticket.
Congrats Gabe!!!!! Please message me your address and claim your prize!
Peace!
Lina
04 Monday Mar 2013
Posted in Hair Routine, Hair Stuff, Natural Hair
I wrote this post to remember all of the fallen twist-outs of the world. Their beauty gives us so much fierceness and bring so many compliments to the lives of Naturalistas all over the world. The world needs more fabulous twist-outs that bring sunshine to our lives. I’m going to take this opportunity to share the life and death of my dear friend Twist-out number 157.
She was born late one Friday night to freshly washed hair and Ecostyler gel…Saturday she gleamed with grape seed oil and shine bright like a diamond. 🙂
She was well taken care of and was lovingly pineappled on Monday night to preserve her good looks. She always tried to keep herself up, She was in her prime…

Although the storms of life came and sprayed her a bit, she was still in high spirits and pulled herself up by the boot straps into a high pony tail and pretty head band on Wednesday…

Although she was highly optimistic, when the rain came, she was never the same. So she had to do what she had to do. She tucked and rolled on Thursday…

Saturday she visited her dear friends Ecostyler Gel and Banana Clip for a pick me up. Banana clip was always there for her in her time of need to lift her up and Ecostyler gel to smooth things out when things got too frizzy…

She took her last breath on a groggy sad Monday morning. She leaves behind her only child, High Bun. She will always be remembered through her loving descendant Bun…

And there you have it. It’s so hard, to say good-bye, to yesterday… :-)…Hope this is as funny to you as it is to me! LOL
Have a good one!
Lina
23 Saturday Feb 2013
Tags
1, Blog, Blogaversary, CurlPlease, Curls, Happy Anniversary, Love, Make up, Products

I can’t believe it’s been a year already! I’m so happy to have shared my musings about natural hair with all of you and I hope that I’ve helped and inspired someone on their natural hair journey. I am so thankful for my readers, subscribers and everyone who reblogs my posts and spread the word. I will continue to blog and post about all things girlie, fierce and natural! Happy Blogaversary!
To commemorate this lovely occasion, I’ll be giving away some beauty products that I love over the next couple of weeks! Starting with My favorite lip pencil by Nars called Dragon Girl! To enter the giveaway, comment on this post and a winner will be selected randomly after the cut off date. Each commenter will be entered into the drawing once. The contest will close on 12 am Saturday, March 2nd, 2013.

My lipstick is a Dragon Girl by NARS and my liner is a cheapie Wine color from the beauty Supply store. I also have on Ambering Rose Blush by MAC

 I LOVE this lip pencil and you will too! Comment below for the chance to win!!
Thanks for reading!!
Lina
18 Monday Feb 2013
Posted in Hair Routine, Hair Stuff, Natural Hair, Natural Hair Regimen
Tags
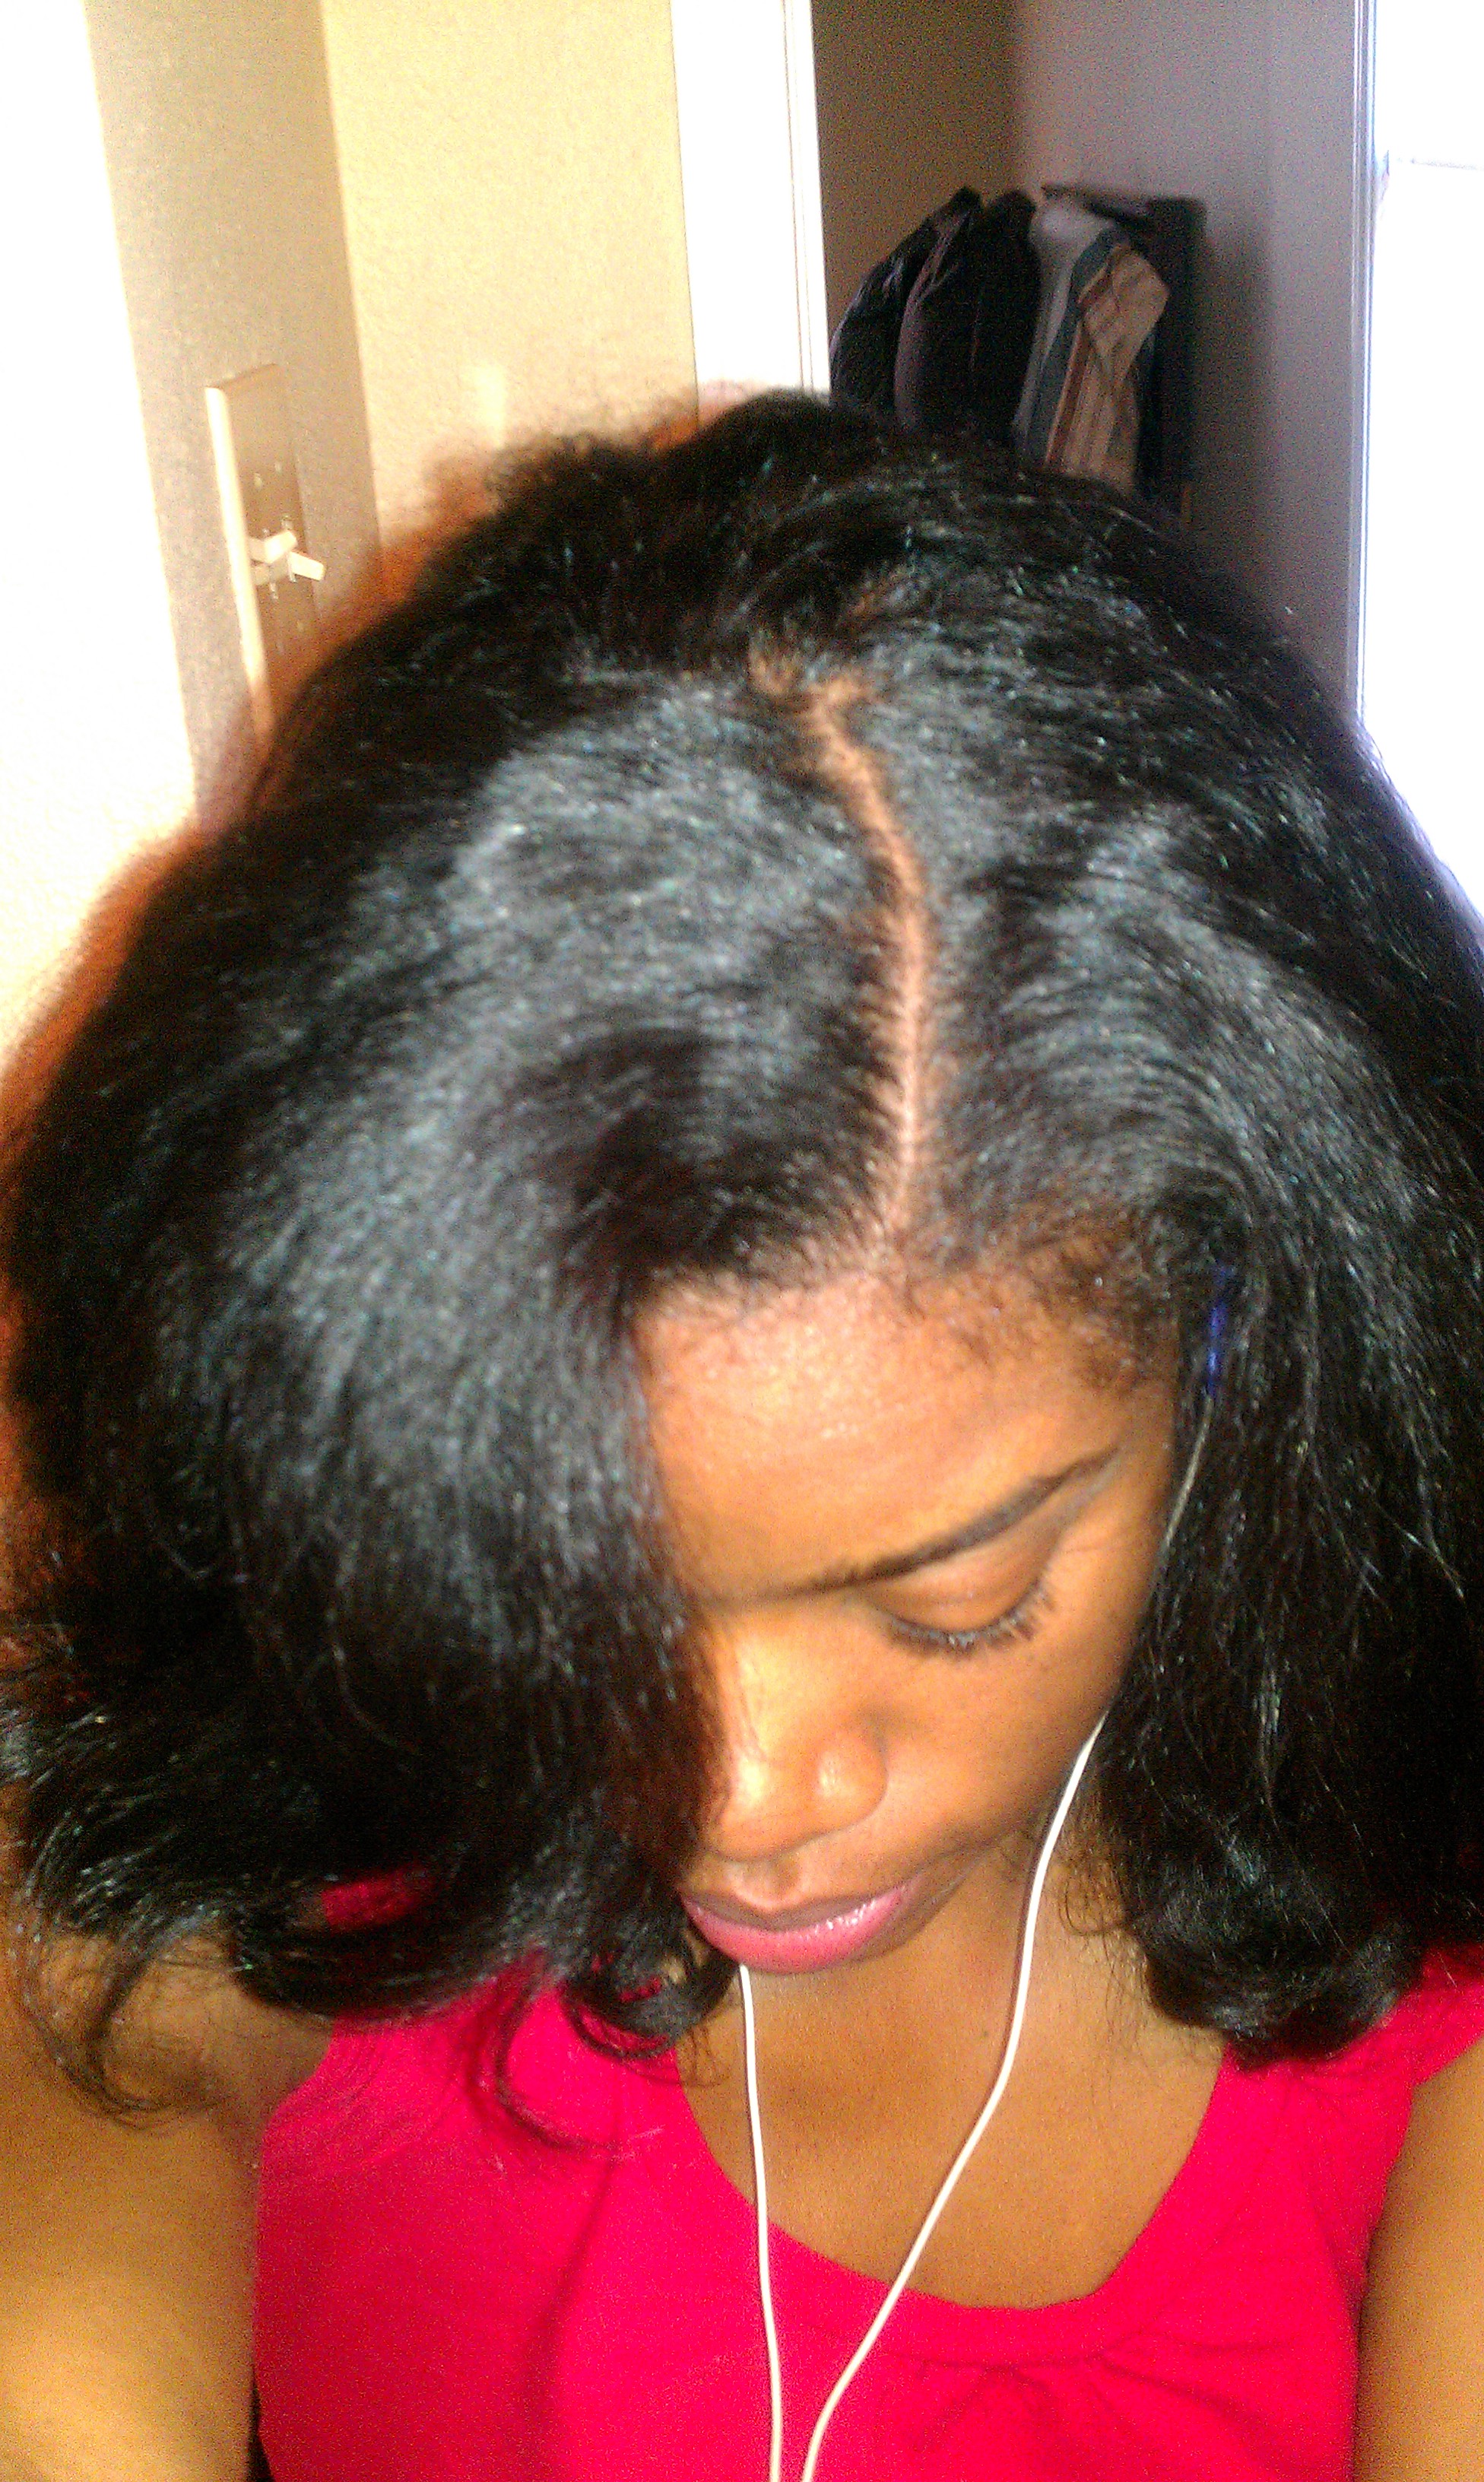
After doing a roller set on my hair, I try to also do a silk wrap to smooth it. After removing the rollers, I generously apply grape seed oil to the uncombed curls. If you have some available, I also recommend applying some sort of humectant, or silkening serum. Next, I use a paddle brush with wide teeth to brush all of my hair in a circular motion around my head, wrapping my hair. After “wrapping” my hair, I use a soft bristle brush to smooth the wrap. then apply good old Saran Wrap around my head covering my hair completely. 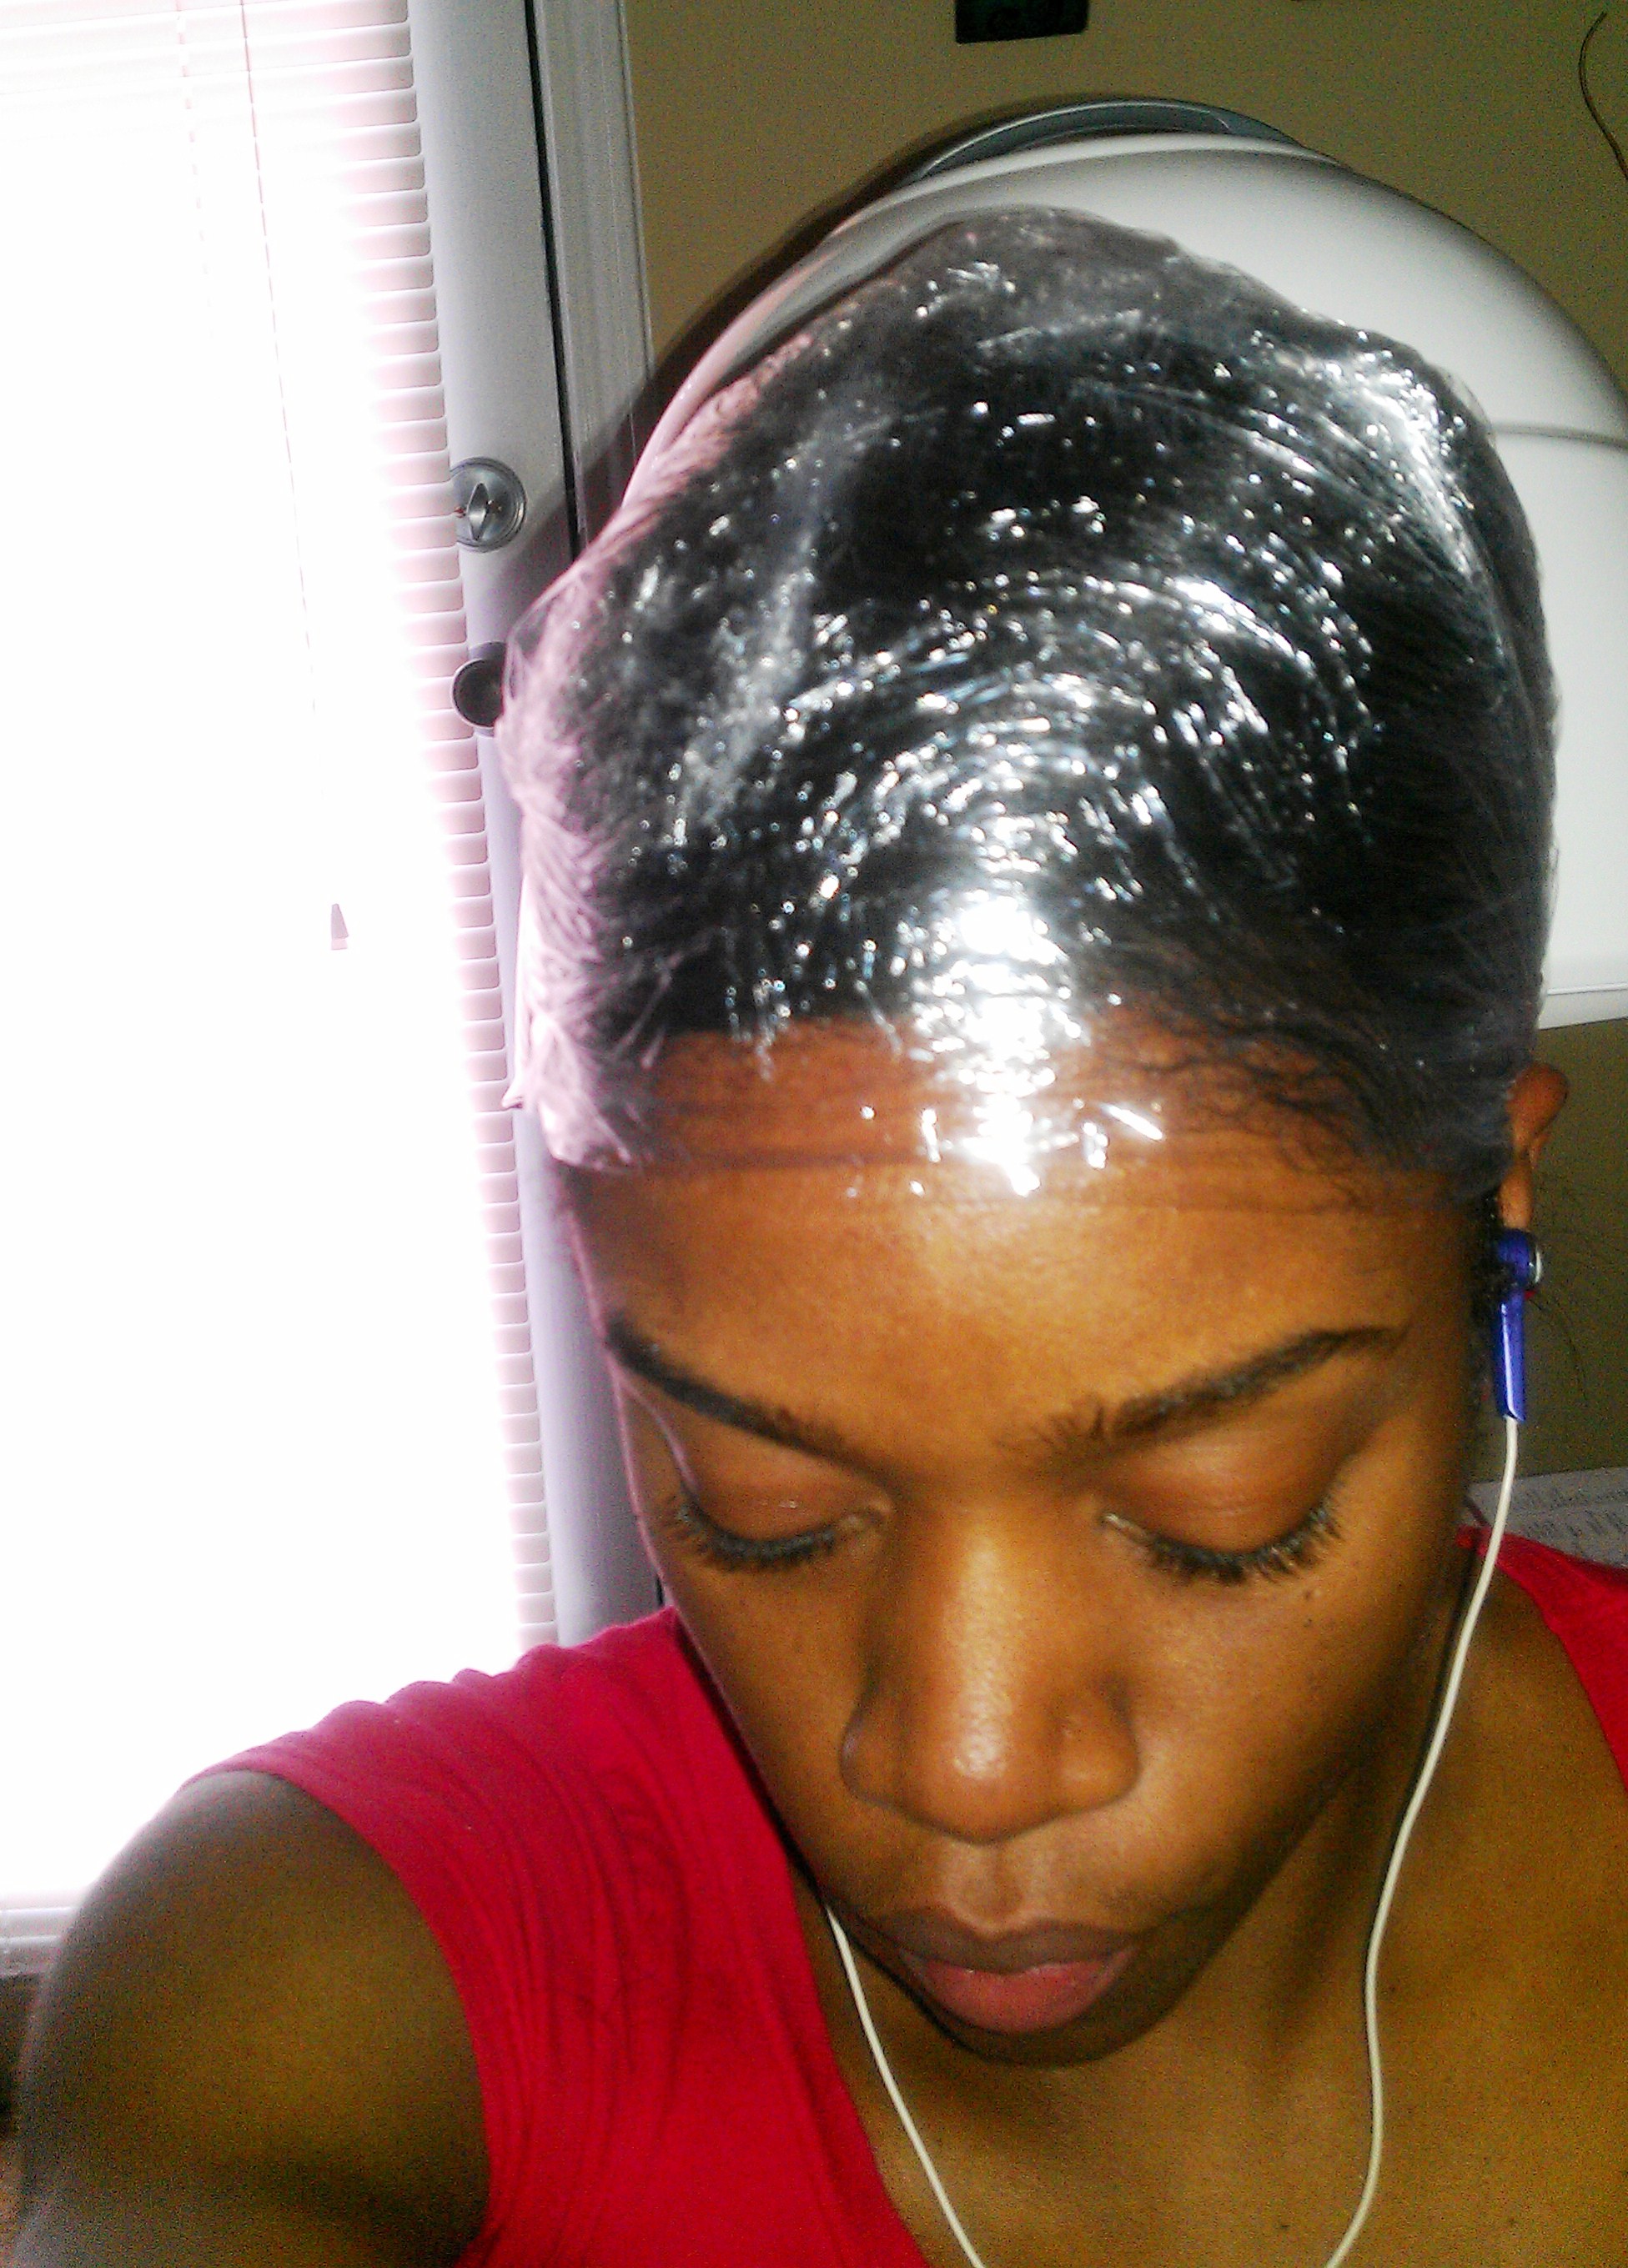
After the Saran Wrap is on my hair, I sit under a hooded dryer for about 15 minutes. I do not recommend sitting under the dryer for more than 15 minutes because your scalp and hair may start to sweat causing reversion. After 15 minutes is up, I come from under the dryer and let the Saran Wrap stay on my head until it is completely cooled allowing the cuticles of my hair to close.
After the Saran Wrap has cooled, I remove it and use a wide tooth comb to gently comb the wrap down, being sure not to comb the hair too much.
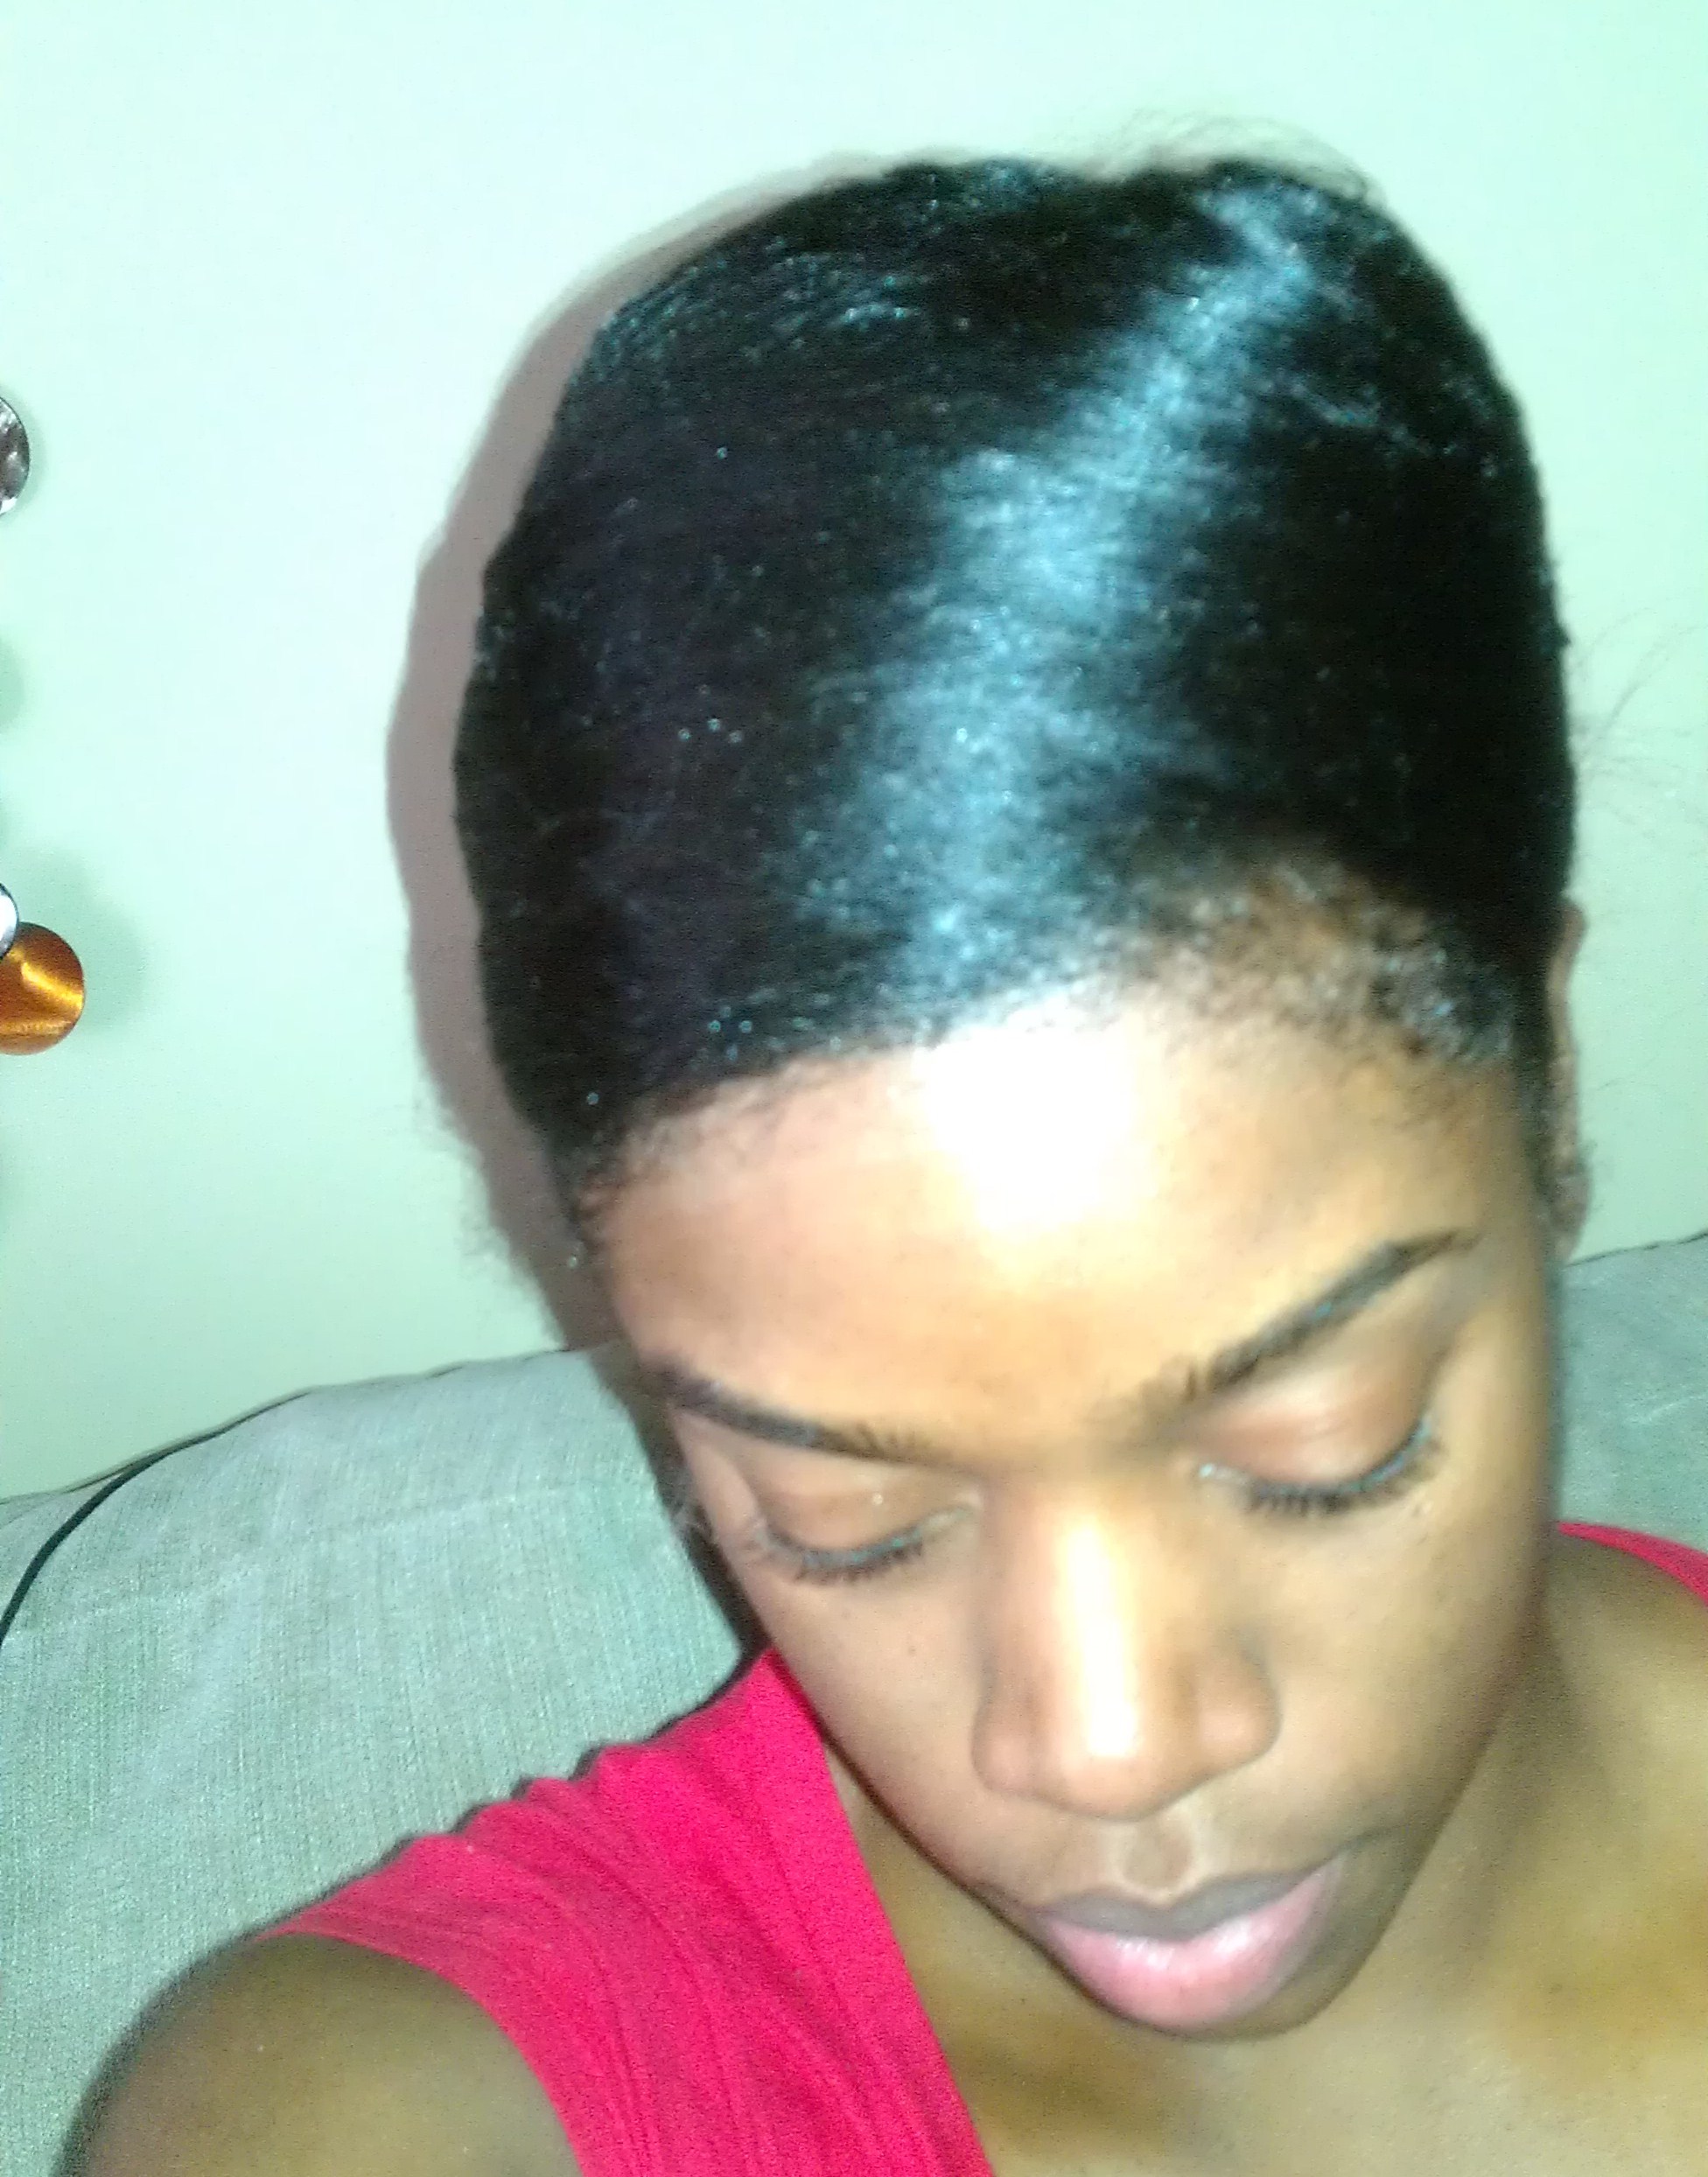


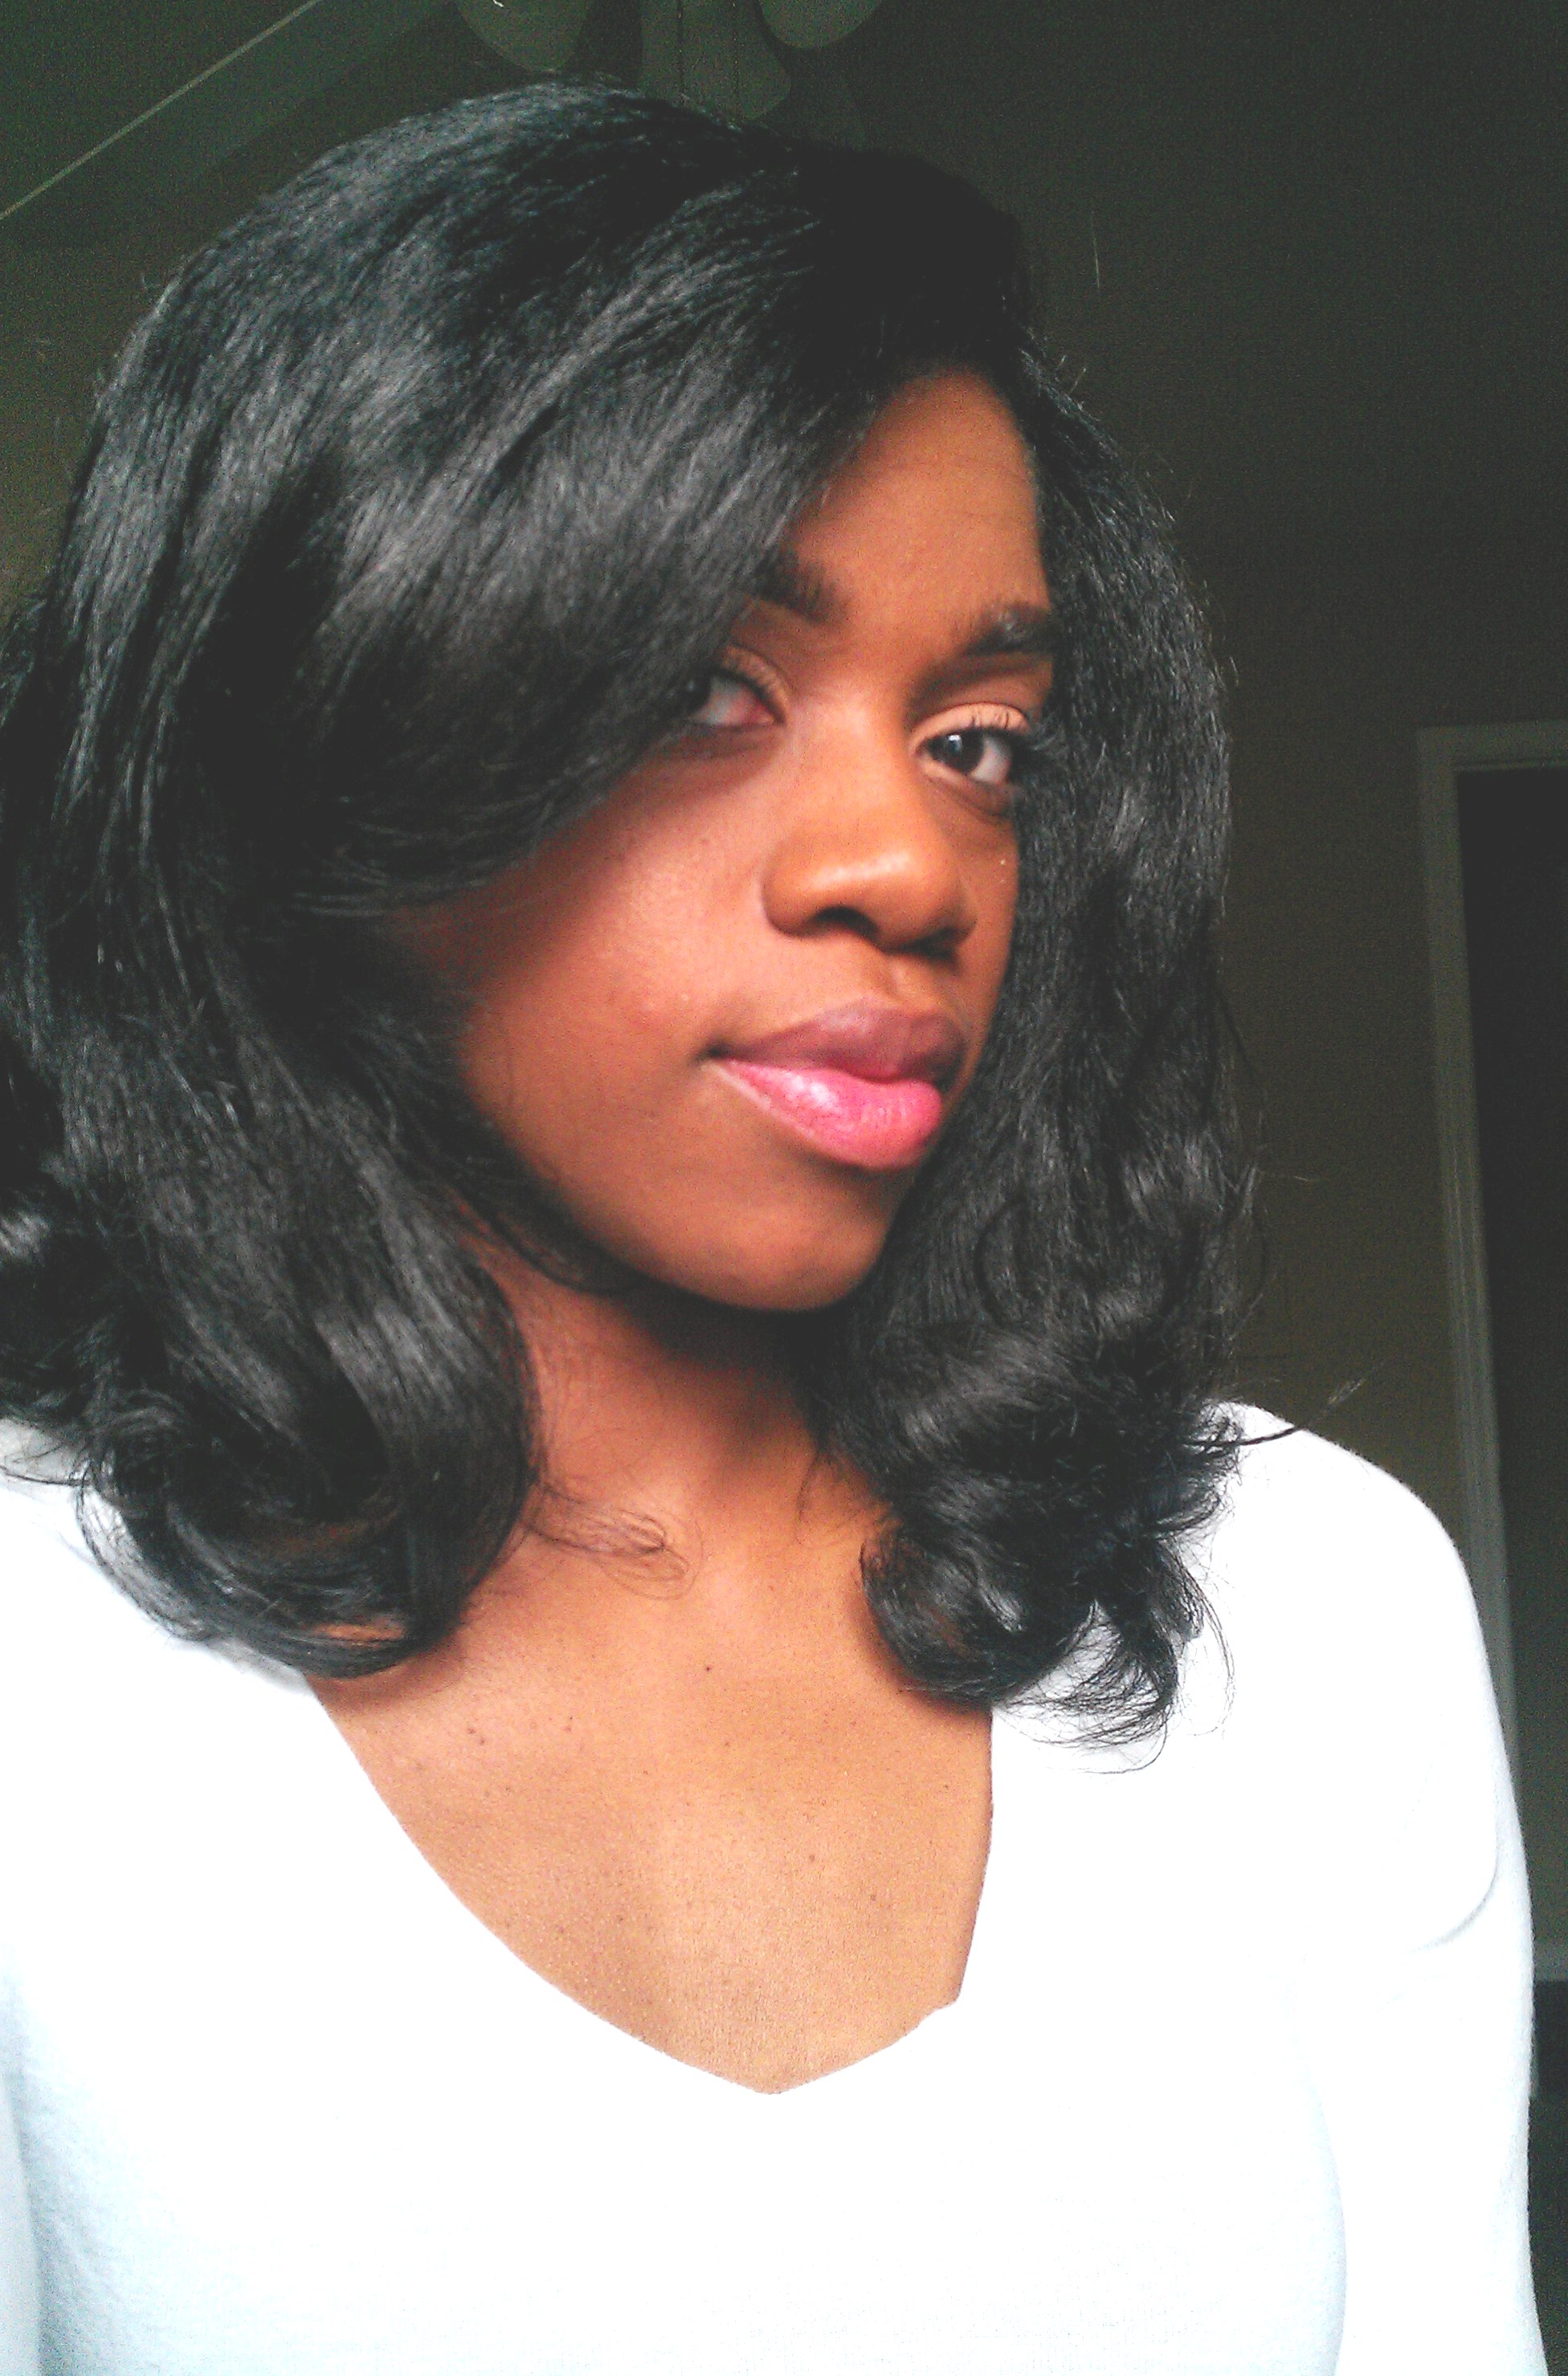

I love the sheen, and smoothness that silk wrapping gives my hair. I recommend silk wrapping to anyone looking to relax tight curls from a roller set.
Happy Wrapping!
Lina
05 Tuesday Feb 2013
Posted in Hair Routine, Hair Stuff, Natural Hair, Natural Hair Regimen
Tags
Alabama, Blow Dry, CurlPlease, easy, Hair, Havana Twists, How To, Love, Natural Hair, Products, Twists, weave
It has been raining for what feels like a month here is Bama and I hadn’t had any luck getting my styles to stick because of the ridiculous humidity. I thought that winter time would give me a break and I would have luscious 4-5 day hair…Sike! this winter has been super rainy as of late and I have been bunning forever!! As I sat at my desk yesterday trying to take the perfect pic of myself to post on Instagram (LOL) I grew irritated because I was tired of seeing my OWN bun on so many of my pictures so I decided to do something about it…There has been a photo floating around the world-wide web of this gorgeous lady rocking some fierce Havana twists… See exhibit A.
EXACTLY!!! She’s the bomb right?!! I had to have them, so I decided that last night [YES last night] I would do them on a whim. I literally looked on YouTube at Black Onyx’s wonderful and easy tutorial on her Havana Twists and went directly to Solid Gold Beauty Supply Store and got the supplies.

Here’s what I used:
3 Packs of EQUAL Marley Braid Hair
Jamaican Mango&Lime Lock and Twist Gel
A Detangling Brush (which ever you prefer)
A Spray bottle filled with water (optional, to dampen hair)
A Blow Dryer
Starting with freshly washed and conditioned hair, I used a cotton T-Shirt to remove the excess water from my hair. I wrapped the T-Shirt around my head like a turban for about 15 minutes. After it was about 80% dry, I separated my hair into 4 quadrants and clamped them into place. Section by section, I sealed my hair with DAX grease [I’m going to use oil next time] and lightly blow dried my hair WITHOUT the comb attachment, not to dry it out, but just to get the rest of the water out of my hair. After the Section was dry, I put 2-3 chunky twists in the section and wrap them around themselves to form a bun, then secured them with a clamp once again.

Taking one section at a time, I unraveled the chunky twists and finger parted 1-2 inch sections. I chose to finger part because I wanted a more natural and believable style and straight parts with twists and braids sometimes look so obvious that it’s extensions. I wanted the look of two strand twists. I secured the rest of the hair in the section to make sure it was out of my way. 
From the large section, I separated a small portion of hair in the BACK of the section. I then applied Jamaican Mango&Lime gel to the ends of both the small and large sections of hair.

Then, I took two wefts of the Marley braid hair and linked them around each other, making sure that the ends of both wefts were even with each other.

Grabbing the small section at the base, I used it as the center section for the starter braid and braided the Marley hair onto my hair. I did about three turns for each braid. DO NOT make the braided section too long, or it will show. The braid is just to secure the Marley Hair.


After 3 turns to create the starter braid to attach the Marley hair to mine, I grouped my hair [originally the small separated section] with one of the Marley braid wefts to make 2 strands for a two strand twist. Then I grabbed the big section, split it in two and divided it between the 2 strands.


Now comes the easy part. I twisted the extensions with my hair from root to end.


It might seem or feel as if the braid is going to show while you are twisting, but once you release the hair when you are done, the root with relax and swell, camouflaging the braid.
When I got to the ends, I rolled them around a whit perm rod about 3-4 times and secured the rod.

When I finished twisting my entire head and securing the ends with rollers, I divided the twists into 4 quadrants again. Sectioning the hair keeps it organized while you dip them in to the hot water and set the curls on the ends of the Marley hair. I filled a tea-pot with water, let it come to a boil and poured the hot water into a bowl. I grabbed each section one by one, and lowered the ends of the twists into the hot water for 1-2 minutes, being sure to submerge each roller completely. I removed the twists from the water and patted the hair dry with a towel.


I tied my hair with a silk/satin scarf leaving the rollers in overnight. In the morning, I took the rollers out and blow dried the excess water from the ends of the twists, Then I removed the scarf.


I am blown away at how beautiful these twists came out 1.) because I am THEE worst at braiding, and 2.) It was my very first time braiding or twisting with extensions. The style took me 4 hours to complete, which is so hilarious to me because it takes me about the same amount of time to wash, deep condition and flat-iron my OWN hair. LOL. Considering that, I think I made good time with this style. Not bad for a braiding novice such as myself. To maintain the twists I purchased TALIAH WAAJID MOISTURE CLENZ spray from Solid Gold Beauty Supply which I will use as needed. The spray has tea tree oil which with help with itchy dry scalp without leaving lots of build up. I am so happy, I’m in natural hair love. 🙂 I hope with all my heart that this helps another non-braider like myself!
Easy Peasy!
Lina
21 Monday Jan 2013
Posted in Effortless Style, Hair Routine, Hair Stuff, Natural Hair
Tags
CurlPlease, Curls, easy, Hair, Natural Hair, Roller Set, Shampoo, Style, Tips
One Friday as I sat on my couch lurking on Youtube, I came across a tutorial on a rollerset using the ponytail method. After watching a few more, I decided to give it a try. I was truly surprised at the results. Because of the ponytails, I was able to install my rollers in half the time that it takes me to do a traditional roller set. The set looked so smooth and dried fast (Hooray!) and I loved it. This is a good method to have in your arsenal.
Here’s what you’ll need:
24-30 Bouffant rollers (I used the snap on type), Foam wrap, a wide tooth rat-tail comb, narrow tooth rat-tail comb, a spray bottle filled with water (to re-wet hair if needed), scissors, Rubber bands, Two hair roller hair nets, and an electric hot comb.
I started with washed and deep conditioned hair. Then I sectioned my wet (but not dripping) hair into three sections ear to ear front, crown and back. I each section make 2 inch by 2 inch pony tails such small rubber bands. I used rubber bands because the small cotton scrunchies would 1. cover up too much of my hair at the base and it wouldn’t get dry and 2. You would have to slide them down your hair to get them off and I don’t like the thought of possibly ruining my curl.
Note: In order for this method to work and your roots to be smooth, the pony tails must me pulled firmly, not painfully tight, but snug so that the rubber bands don’t slide and so the roots will be straight.
For Each sectioned ponytail, apply foam wrapping lotion to the entire ponytail, split the hair in two, detangle with a wide tooth rat-tail comb, and smooth the ends with a narrow tooth rat-tail comb and install a roller.
Note: Each sectioned and split ponytail should have 2 rollers.


Continue rolling until your ponytails are all rolled…


Put a hair net over your rollers to hold them firmly into place and keep them from hanging and sliding. I needed two, because my rollers were kind of big.


I sat under a hooded dryer for 2 hours, and then kept the rollers in for a while as I watched TV (and because I fell asleep :-)). You can also let them air dry if you prefer no heat.
After checking a few for complete dryness in each section, I removed all of the rollers.


Starting with the back sections, I used pair hair scissors and cut the rubber bands from each ponytail, being carefull not to cut my hair. After removing the rubber band from a section, I touched up the area (the roots) where the rubber bands had made a crease with an electric hot comb to smooth it out.


Setting the hair with the roots pulled taut really helps achieve the coveted smoothness that makes roller sets look so wonderful. I really like this method, and it really stands a chance to replace the traditional mohawk rollerset.
Try it! Enjoy!
Lina
14 Monday Jan 2013
Posted in Hair Stuff, Natural Hair, Uncategorized
I ran across a picture of my hair in a Wash n’ Go from January 13, 2012 and compared it to another picture I took in December 2012. What a difference a year makes!

January 2012

December 2012
Natural hair grows!!! There is not some magical product that makes it grow, its consistency…Wash, detangle, seal, protect. I trimmed my hair once in 2012.
Peace!
Lina


